
What Drives the Cost of Silicone Compression Molding?
The cost of silicone compression molding is not controlled by one line item. Tooling, geometry, material, secondary operations, inspection and quantit
 Kyler Yang · Founder10 min read
The cost of silicone compression molding is not controlled by one line item. Tooling, geometry, material, secondary operations, inspection and quantity all move the number in different directions.
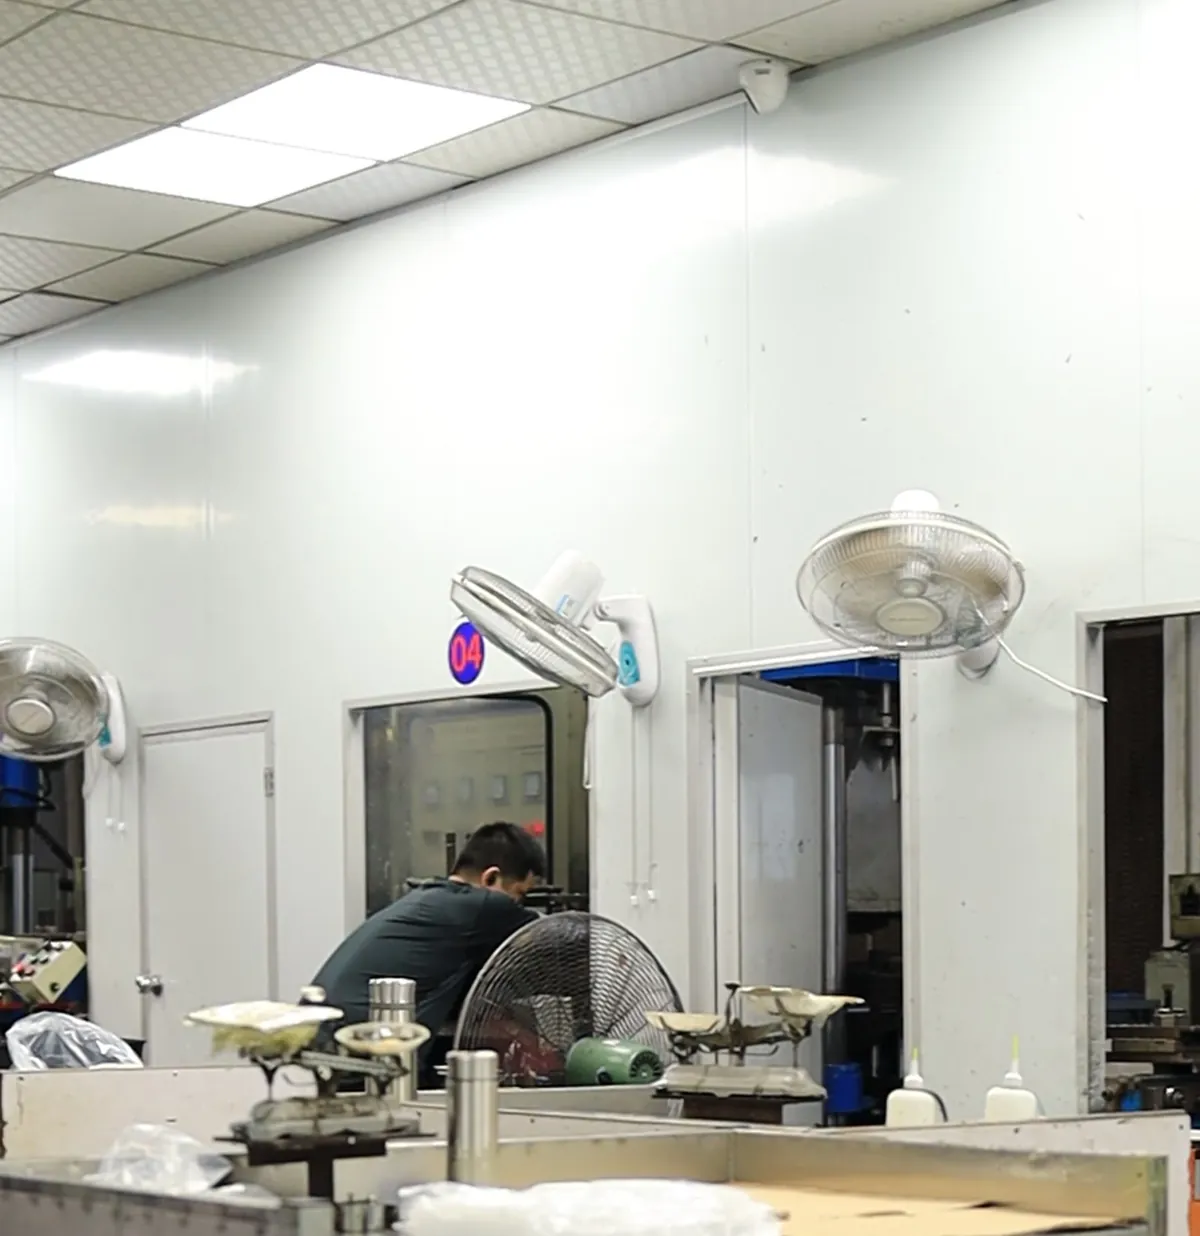
This article is for buyers sourcing HCR/HTV compression-molded silicone components. It uses silicone compression molding manufacturer as the search topic, but the purpose is to help a buyer make a better engineering or sourcing decision rather than repeat a sales page.
Cost driver 1: engineering and design maturity
A production-ready STEP file costs less to engineer than a project that begins with one photograph. Reverse engineering, sculpting, tolerance clean-up and DFM are legitimate NRE items.
If the design is still changing, spending less on flexible prototype tooling can be smarter than pushing those changes into a steel tool.
Cost driver 2: the tool
Possible routes include:
- metal compression tooling
- preform/loading strategy
- heated cure under pressure
- deflashing or manual trim depending geometry
- post-cure when the compound/specification requires it
The tool price reflects number of cavities, parting lines, shutoffs, inserts, cores, finish and the expected production life.
Cost driver 3: silicone and part/mold mass
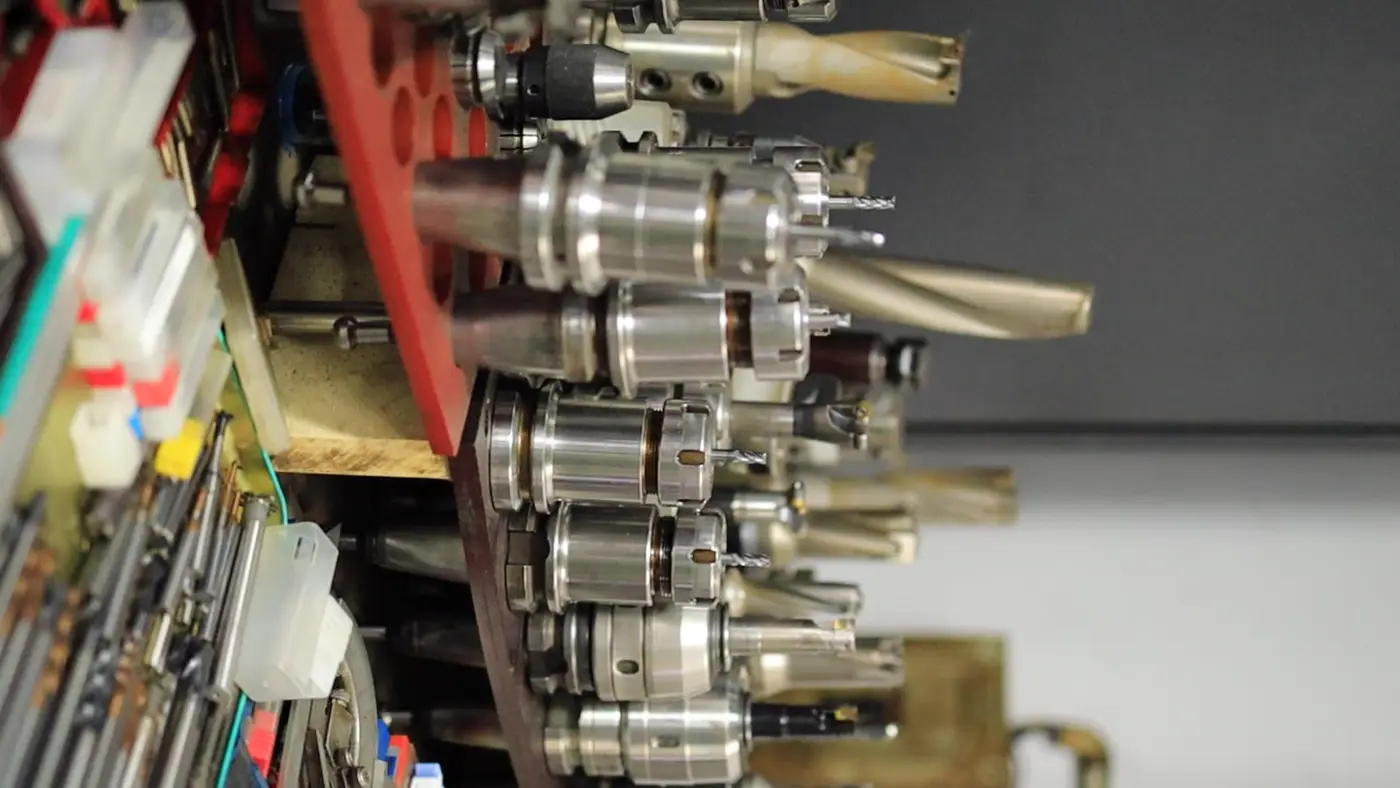
Material grade, hardness, color and total silicone weight matter. Large RTV molds can consume several kilograms of silicone; small molded parts may be material-light but labor- or tooling-heavy.
Cost driver 4: secondary work
Common additions include trimming, post-cure, insert loading, assembly, printing, inspection and individual packaging.
Cost driver 5: quality and documentation
- critical dimension check after conditioning
- Shore A check when specified
- flash/trim inspection
- compression or fit test for functional parts
- lot-to-lot color comparison
A buyer should decide which checks are necessary rather than asking for “full inspection” with no defined standard.
Cost driver 6: quantity
Tooling cost and unit cost should be separated. The unit economics may change enough at higher volume to justify another cavity count or another molding process.
Engineering example (hypothetical): A buyer sends a 3D model and asks for the softest possible silicone. During review, the thin working feature is already flexible while the main body needs shape stability. Instead of reducing the entire part to a softer grade, the team prototypes the local wall and keeps more support in the body. The lesson is that geometry and hardness should be tuned together.
How to lower total cost without damaging the product
- Freeze critical dimensions before production tooling.
- Keep cosmetic changes out of critical functional interfaces.
- Prototype the highest-risk feature first.
- Use shared or modular inserts when product variants genuinely share a base geometry.
- Specify only the documentation and inspection the market requires.
- Design packaging after the final part dimensions are known.
A good quotation lets you see the repeat-order cost
Ask for NRE/tooling separately from recurring unit price. Then you can compare the cost of the first order with the cost of the second and third orders instead of choosing by one headline number.
What the drawing should make explicit
A good production drawing for silicone compression molding should identify:
- units and revision
- datum or measurement references for critical dimensions
- Shore A and material only where they are actually controlled
- surface finish or texture when appearance matters
- parting-line/flash restrictions on functional surfaces
- logo/artwork revision
- mating component reference for fit-sensitive products
- test or inspection notes that cannot be inferred from geometry
Soft silicone is easy to distort during measurement. If a dimension is important, define how it is measured rather than adding an unrealistically tight tolerance.
How to use a golden sample
A golden sample is useful for characteristics that are hard to describe numerically: feel, color, surface gloss, acceptable trim witness, logo appearance or the way a flexible part sits on another component.
It should complement the drawing, not replace it.
Questions to ask before approving production
- Is the sample made from the intended production material?
- Is the CAD revision frozen?
- Have the critical dimensions been measured?
- Has the sample been tested in the real use or casting process?
- Are color and surface approved?
- Are required documents tied to the actual material?
- Is packaging defined?
- Is the repeat-order reference clear?
What RUUIPON would need to review this project
- STEP/STP or a dimensioned drawing; STL is useful for sculptural geometry
- physical sample or mating part when fit is critical
- material/use environment and target Shore A if known
- first-order quantity plus realistic repeat volume
- required reports, packaging, color and logo instructions
If some data is unavailable, state that clearly. A useful engineering review can distinguish “unknown and to be tested” from “fixed requirement.”
Review the related commercial page Send an RFQ
Frequently asked buyer questions
Should I give the supplier a target Shore A for silicone compression molding?
Give it if it has already been validated. If not, describe the functional feel/load and allow prototype comparison. Hardness should not be guessed independently of geometry.
Is a physical sample better than STEP/STL?
For fit-sensitive or organic geometry, the physical sample is very valuable. For controlled dimensions and revisions, STEP is usually easier to engineer. Using both is ideal when available.
How many samples should be tested before production?
There is no universal number. Test enough pieces and use cycles to expose the failure mode that matters. A fit check may need several parts; a cavity-weight study may need samples across every tray region.
When should tooling be changed instead of the silicone grade?
When the failure repeats at the same geometry-sharp corner, thin transition, poor split, unsupported span or bad retention-the tool/design is often the more direct fix.
Can the same supplier document be reused for every silicone material?
No. Important compliance or material evidence should match the actual compound used for the order and the buyer's intended market/use.
Shop-floor review: what we would look at before calling this production-ready
For silicone compression molding, we would put the approved sample beside the drawing and ask a small number of practical questions.
First, does the part or mold return to its intended shape after the real handling cycle? Silicone can pass a static dimensional check and still behave badly when stretched, compressed or filled.
Second, are the failure-prone features visible on the drawing? The likely problem areas for this topic include:
- flash at the parting line
- air traps or incomplete fill in thin sections
- hardness variation caused by material/process changes
- warpage after demolding or post-cure
- trim damage around thin lips
Third, is the inspection plan linked to these risks? If the concern is retention, test retention. If it is cavity weight, measure piece weight. If it is a split mold, check registration after repeated opening. If it is food-contact documentation, verify the report against the compound rather than the website claim.
Finally, keep the first approved production sample. On a repeat order six months later, that physical reference can resolve color, trim, feel and surface questions faster than a long email thread.
Detailed review worksheet
Use this worksheet before you accept a quotation or approve a sample.
Geometry
- Which feature is hardest to mold or demold?
- Which dimension controls function?
- Where can flash or a seam be tolerated?
- Is a thin section flexible by design, or simply thin because of packaging/appearance?
- Does the CAD show the real mating/casting condition?
Material
- What exact property is driving the silicone choice?
- Is Shore A already validated or still a prototype variable?
- What temperature, chemical, food, skin or outdoor exposure applies?
- Is there a required report tied to the material?
- Does color/translucency affect function or only appearance?
Process
- Which manufacturing route is quoted?
- Is the process suitable for the first quantity and forecast volume?
- Which secondary steps are included-trim, post-cure, assembly, printing, inspection?
- Will a future scale-up require new tooling?
Validation
For this topic, the central risk is parting-line flash, thin-section fill, preform/loading consistency, trim damage and post-cure dimensional change.
The prototype plan should therefore include a test that can expose that risk. Run first articles across multiple cavities rather than approving the best-looking single cavity.
A decision table for common changes
| What you observe | First thing to check | Do not immediately assume |
|---|---|---|
| Part/mold too soft | Local wall/span and real load | Entire compound must be harder |
| Tear at one location | Radius, undercut, demold path | Silicone batch is bad |
| Fit too loose/tight | Mating-part dimensions + measurement method | Global shrink factor is wrong |
| Excess flash | Parting line, shutoff, tool condition | Trim operator is the only issue |
| Poor logo/detail | Artwork depth, fill/release, master finish | Higher pressure alone will fix it |
| Variation between cavities | Tool/cavity, support, filling/process | Average dimension tells the whole story |
This table matters because changing the wrong variable can create a second problem while hiding the first.
How to document a prototype result
Do not write only “sample approved.”
A useful approval note contains:
- sample ID
- drawing revision
- silicone/material identification
- hardness/color
- tool or cavity reference
- tests performed
- measured result
- cosmetic comments
- deviations accepted
- changes required before production
- photo/golden sample reference
That note is inexpensive insurance for the repeat order.
Practical measurement note
Measure critical dimensions after the specified conditioning/post-cure state.
For flexible silicone, repeatability of measurement is often more important than adding another decimal place. If two inspectors can produce very different numbers by squeezing the part differently, the method needs a fixture or clearer instruction.
What the operator may reveal that engineering misses
Consider how an operator fills, assembles, demolds, cleans, carries or inspects the part during a normal workday.
During a pilot, ask the operator:
- Which step is slow?
- Where do they need two hands?
- Where do they use more force than expected?
- Which defect is hardest to see?
- Which part of the mold is easiest to damage?
- Does packaging make the finished part harder to inspect?
Operator feedback can lead to small geometry changes that reduce recurring labor far more than a raw-material price negotiation.
Repeat-order control
Repeat orders should reference the same cad revision, material specification, golden sample and acceptance method.
Before a reorder, compare the previous approved reference to the new PO. If the buyer changes color, packaging, material evidence or a mating component, treat it as a controlled change rather than a routine reorder.
A hypothetical example of a good engineering conversation
Buyer: “Can you make this in 40 Shore A?”
Factory: “We can prototype 40A, but which behavior are you trying to control?”
Buyer: “It should stay in place but still be easy to remove.”
Factory: “Then we should test retention/removal on the real mating part. We may be able to keep 40A and change the local retention geometry instead of moving the whole part to 50A.”
That conversation is better than accepting the material number with no functional target. It ties the specification to the use.
Final checklist before you move on
- [ ] Search intent/question answered without generic filler
- [ ] Real application and failure mode defined
- [ ] Drawing/sample available
- [ ] Critical dimensions marked
- [ ] Material requirement is specific enough
- [ ] Prototype test written
- [ ] Tooling/NRE separated from unit cost
- [ ] Required documents named
- [ ] Production change-control reference defined
- [ ] Related commercial page linked
Build a total-cost model, not a single-price comparison
For a sourcing decision, calculate at least three numbers:
First-order cash outlay = engineering + tooling + sample/pilot + first production + freight.
Repeat-order cost = recurring unit price + secondary operations + packaging + freight.
Failure cost = likely cost of remake, delay, rework, missed launch or rejected lot if the highest-risk feature is not validated.
The cheapest quote often wins only the first of these comparisons.
A buyer can also model the break-even point between two tooling routes:
> Additional tooling investment ÷ unit-cost saving = approximate quantity required to recover the higher tool cost.
This simple calculation is more useful than saying “LSR is expensive” or “compression is cheaper.” The correct answer depends on the real volume.
Ready to order custom silicone molds?
Free quote for OEM/ODM projects. MOQ 20 · Prototype 3-7 days · FDA/LFGB available.