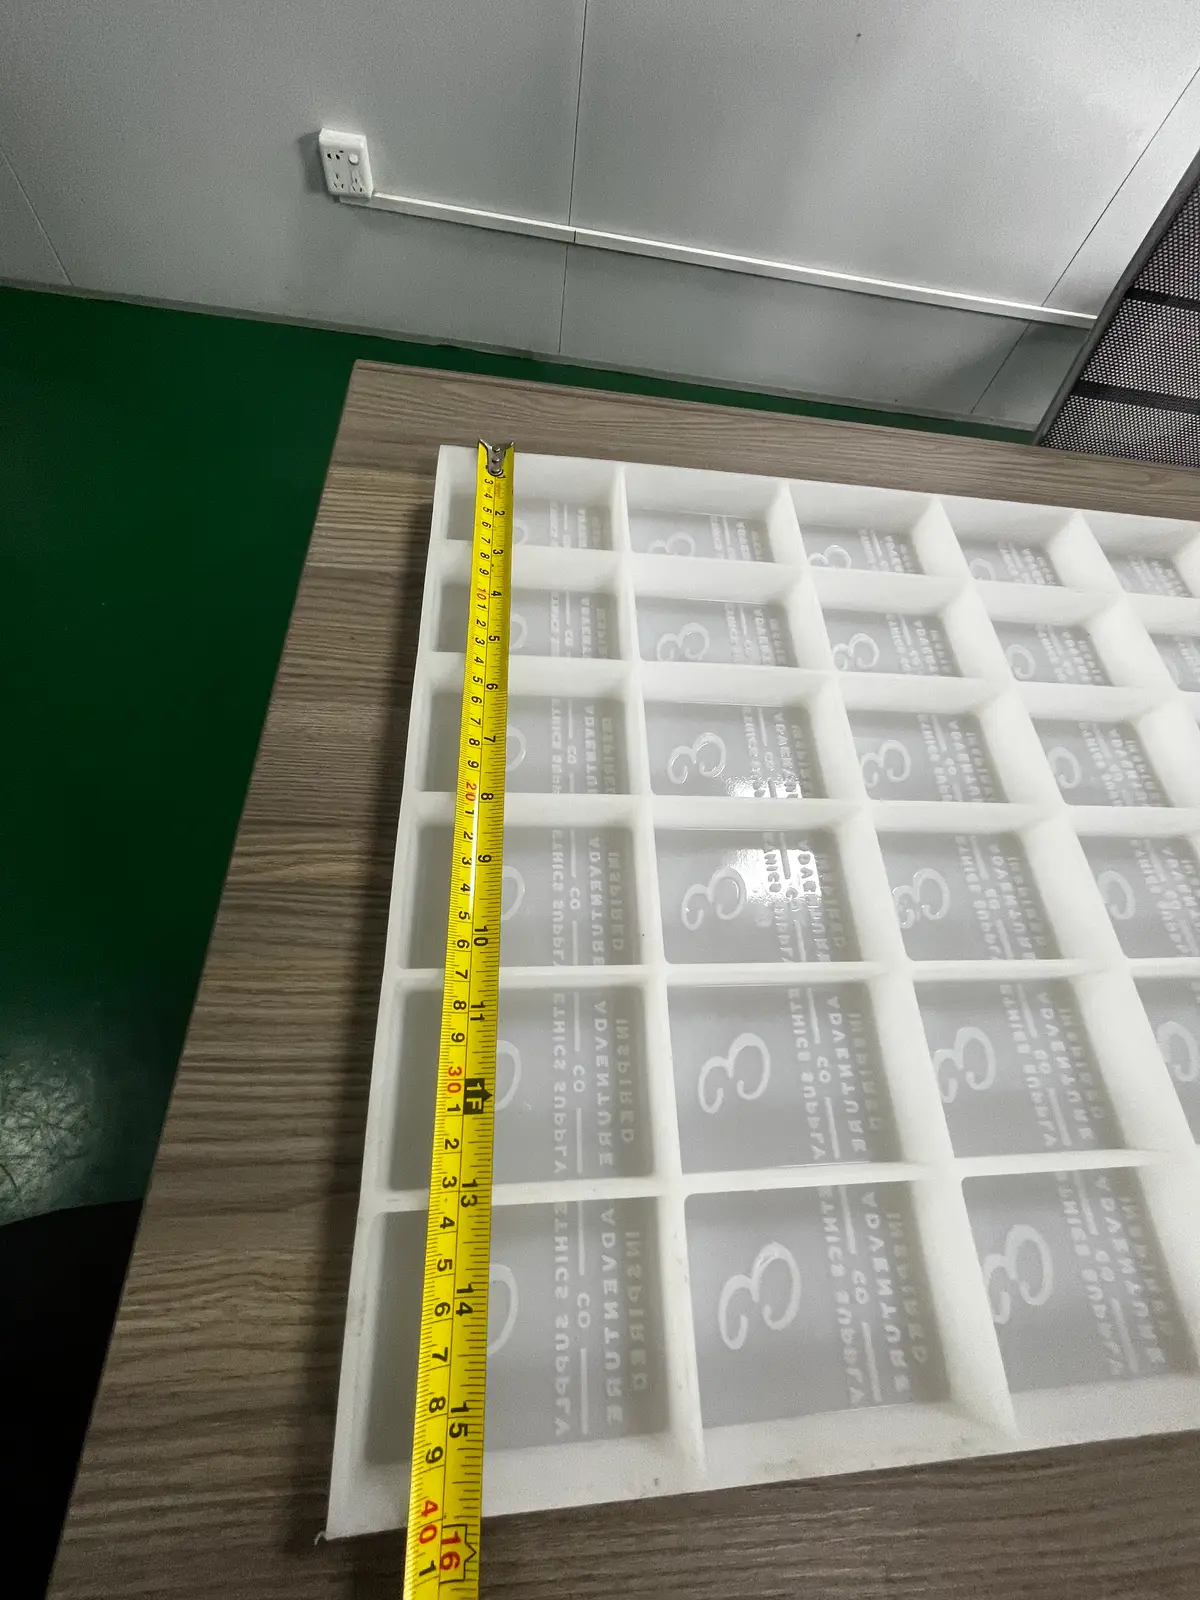
Finding Bubbles in Silicone Mold or Cast | RUUIPON
Face bubbles in an RTV cavity are a degas or brush-coat miss. Bubbles only in resin or chocolate are your pour. Confirm location, then recast or change

A pinhole you can feel on the cavity face is a mold-making miss. A pinhole that appears only in the resin, chocolate, or wax, while the empty cavity is smooth, is your pour. Mixing those two wastes a recast. Run a fingernail across the dry empty well under a raking light. If the rubber is cratered, we talk vacuum, brush coat, and mix. If the rubber is smooth, we talk how you degas or pressure-cast *your* material — and we do not pour a second RTV skin to hide a resin technique problem.

This is for people using a custom RTV mold as a tool: resin coasters, figurines, chocolate, wax, soap. RUUIPON (Bao'an, since 2018) pours master → box → A/B → vacuum → jacket. Steel or LSR *parts* are a different quote at wydsilicone.com. Does not apply when you are injection-molding LSR in a heated cavity with a cold-runner, when the "bubble" is actually shrinkage porosity in a thick resin pour, or when you bought a craft kit that was never vacuumed.
Read the bubble by where it sits
Open crater on the cavity face, same place every dump. Cause: air trapped against the master during the RTV pour — no brush/detail coat, too-fast pour, or a vacuum cycle that never collapsed the foam. Confirm: empty cavity, raking light, fingertip. The crater is in the rubber. A witness cast will clone it. Fix: remake. We brush a detail coat, then vacuum the bulk pour until the foam falls. You cannot sand a food-contact logo well back to a sealed face and keep the document path clean.
Cloud of pinholes through the RTV wall, face mostly OK. Cause: mix whipped, short vacuum, or a 10:1 ratio grabbed off the volume marks instead of a scale. Confirm: cut a sprue or look at a trimmed flash edge. Bubbles in the bulk, not only the face. Fix: remake with weighed A/B (1:1 or 10:1 by grade) and a full degas. We would not "fill pinholes with more silicone" on a production tray.
Empty cavity is glossy and smooth; the resin/wax piece is pocked. Cause: your pour, not our skin. Warm resin, no pressure pot, deep undercut that closed a vent. Confirm: the same crater does *not* exist on the dry rubber. Fix: change the cast process (pressure pot, warmer resin, a vent in a split). Recasting the RTV will copy a smooth master and still give you pocked parts.
Bubbles only in deep lettering or a hair vent. Cause: the detail coat never wetted the serif, *or* your cast resin couldn't push into a 0.2 mm well. Confirm: rubber crater vs a full rubber well that the resin didn't fill. A needle-drop of oil in a *craft* well can tell you fill — do not oil food cavities. Fix: for the rubber, remake with a brushed coat. For the cast, open the letter or add a split/vent. Use the RUUIPON Mold Structure Decision: if a one-piece peel cannot wet and release that serif, it is a two-part or a shallower logo, not a harder Shore.
Jacket side is foamy; cavity face is fine. Cause: creamed leftover cup, or the jacket closed too soon. Confirm: only the outside of the skin. Fix: leave it if keys still fit. Recast when foam reaches a hinge or boss.

Vacuum, brush coat, pressure pot — three different jobs
People mash these into one "degas" ask. Vacuum on the RTV mix pulls air out of the *rubber* before it sees the master — our default. A brush coat wets verticals and serifs; vacuum does not replace it on a deep logo. A pressure pot is for *your* resin in the cavity. It will not erase a crater already cured in the mold face.
No vacuum pot for a home test? Read the companion note on degassing without vacuum — and when we would not skip a pot on a production tool.
Typical shop values
Caption: Typical shop values.
| Item | Typical shop value | Bubble relevance |
|---|---|---|
| Mix | 1:1 or 10:1 by weight | Volume marks under-ratio and cream air |
| Vacuum | Degassing until the foam collapses, then a short hold | Stopping at first rise leaves pinholes |
| Detail coat | Brushed on logos, undercuts, verticals | Skipped coat = face craters in letters |
| Platinum shrink | about 0.1–0.3% | Shrink porosity in *resin* is not RTV shrink |
| Cavity Shore | 20A–40A trays; 10A–20A glove skins | Soft skins still need a degassed face |
| Prototype | 3–7 business days after CAD lock | First witness cast is the bubble audit |
| MOQ | 20 pieces per design | One foamy sample is not a production pack |
| Simple 3D | USD $50 when that CAD scope applies | Wrong letter depth is a fill problem, not vacuum |
A photo that would prove a mold-side crater: dry empty cavity, raking LED, coin for scale, crater in the serif. Do not send only the pretty resin piece.

Worked example (anonymized)
A 12-cavity resin coaster, platinum ~30A, open-back. Cloudy epoxy photos; empty cavities were smooth. One pressure-cast cavity cleared the cloud. Two wells had a repeating pinhole in a 0.25 mm letter — a rubber crater from a skipped detail coat. We remade those two skins with a brushed coat and vacuum. We did not remake the ten smooth cavities.
One procurement mix-up
"Bubble-free mold" on a PO line is not a process. Say whether you mean a degassed RTV face, a pressure-cast resin, or both. Ask for a witness-cast photo of the *face*, not only the jacket. Tooling charge ≠ unrestricted ownership — if we remake the skin, say who keeps the master.
We would not recommend
We would not recommend pouring a production food or logo cavity without vacuum just because a YouTube coaster skipped it.
We would not recommend sanding pinholes out of a food-contact well.
We would not recommend a pressure pot as a substitute for weighing A/B.
flowchart TD
subgraph loc [Where is the pinhole?]
A[Pinhole on finished piece] --> B{Empty cavity cratered under raking light?}
end
B -->|Yes, same GPS every dump| C[RTV face — remake with detail coat + vacuum]
B -->|Yes, bubbles in wall not face| D[Mix / short vacuum — remake bulk]
B -->|No, cavity glossy| E[Your pour — pressure, heat, vent; do not recast the skin]
C --> F{Serif or vertical?}
F -->|Yes| G[Brush coat required; vacuum alone will miss]
F -->|No, open floor| H[Vacuum cycle until foam collapses]
E --> I{Deep letter that rubber filled?}
I -->|Rubber full, resin empty| J[Open letter, split, or pressure-cast]
I -->|Rubber never filled| CWhat to ask when you're buying
- Will the shop vacuum the RTV, and will they brush a detail coat on logos?
- Can they send a witness-cast photo of the face, not only the jacket?
- What A/B ratio by weight, and do they refuse volume-mark mixing on production?
- Pressure pot on your side, or do we need a split/vent? Food-contact: 21 CFR 177.2600 is extraction of the finished article. ISO 3302-1 M2 is a common default if classed.
RFQ copy-pack
Send to [email protected], phone +86 135 3006 2969:
RUUIPON bubble diagnostic RFQ Empty-cavity photo, raking light: attached Witness-cast photo: attached / not yet Pinhole in: rubber face / rubber wall / only the pour Pour material + peak temp: Logo or serif? depth guess: Vacuum required: yes (default) / discussing no-pot sample Split / vent allowed? Qty: prototype / MOQ 20 CAD: STEP / $50 3D if scope applies Food-contact path: 177.2600 / LFGB / craft only
Matched next step: send empty-cavity and piece photos together. We recast when the rubber is cratered. We will not sell a second skin to hide a resin pour. Prototype 3–7 business days after CAD lock. MOQ 20 per design.
Related: custom silicone resin molds, custom silicone chocolate molds, services / DFM to production, contact. Degassing without a pot is a separate decision: /blog/degas-silicone-without-vacuum/.
FAQ
If my resin has bubbles, should you remake the mold? Only if the empty cavity shows the same crater. Smooth rubber plus cloudy resin is a pour-process problem.
Does vacuum on the RTV remove bubbles from my epoxy? No. Vacuuming the rubber cleans the tool face. Your epoxy still needs its own degas or pressure cycle.
Can you fill pinholes in a food tray with more silicone? We would not. That patch is a hygiene and document-path problem. Remake the skin.
Why do letters always bubble even when the floor is clear? The bulk pour bridged the serif. A brushed detail coat wets that geometry; a vacuum pot does not paint verticals by itself.
How fast can you remake a cratered sample? Commonly 3–7 business days after CAD lock (or after we agree the master is still good). Production packs stay MOQ 20 pieces per design. $50 3D only when we still need that CAD scope.
Ready to order custom silicone molds?
Free quote for OEM/ODM projects. MOQ 20 · Prototype 3-7 days · FDA/LFGB available.