
How Fine Texture Transfers Into an RTV Silicone Mold
RTV silicone does not invent detail. It reproduces the surface that physically exists on the master, including the detail you want and the sanding marks, print layers, dust, trapped air and repair scratches you did not intend to reproduce.
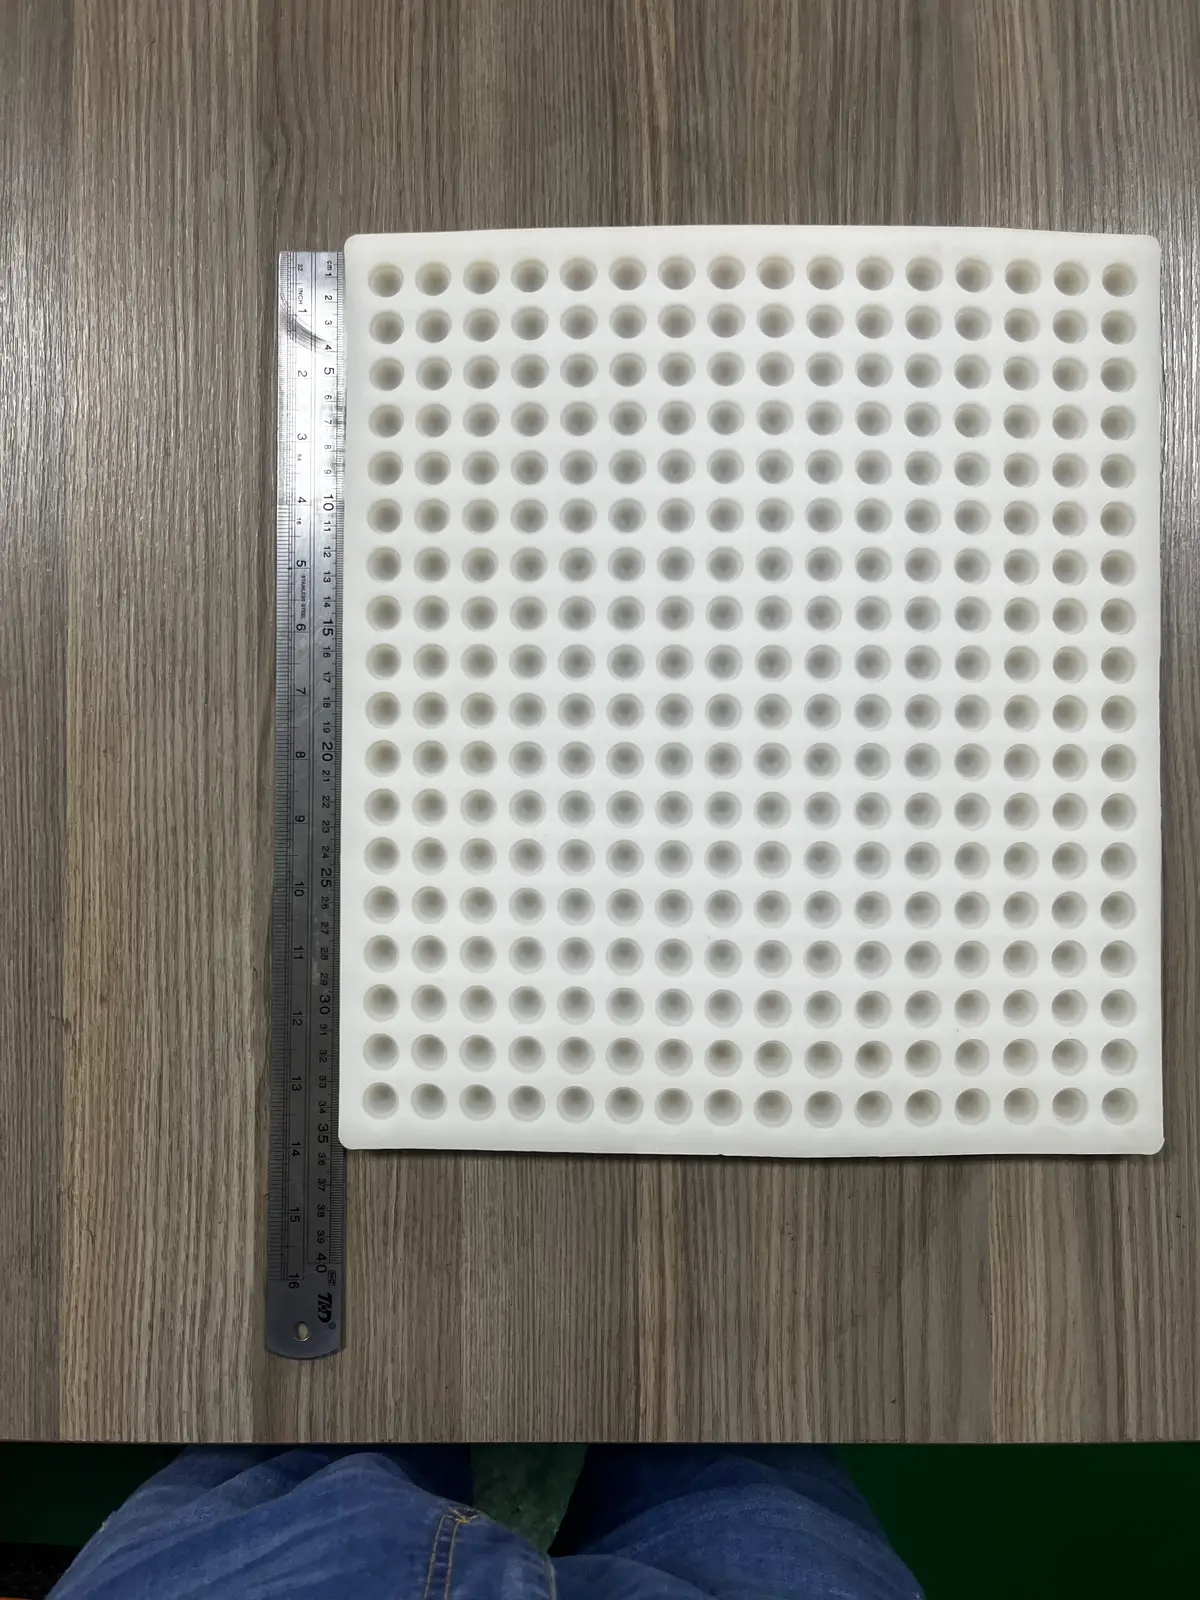
For hair, leather grain, bark, stone, fabric, skin texture or miniature lettering, the most important surface-quality decision happens before the bulk silicone is poured.
The texture chain is:
reference → master → master finish → first silicone contact layer → cured mold surface → casting material → finished casting
A defect introduced at any stage can look like "lost silicone detail" even when the real cause is elsewhere.
The master sets the upper limit
If the master does not contain the texture, the mold cannot recover it.
Check the master under lighting and magnification similar to how the final casting will be judged.
Questions:
- Are the hair lines actually modeled or only visible in a render?
- Is the leather grain physical geometry or a bitmap texture?
- Did primer fill the smallest grooves?
- Did sanding round the texture peaks?
- Are support scars present in the display area?
- Is the surface intentionally matte or unintentionally rough?
A rendered normal map is not a physical master surface.
For a critical texture, approve macro photos of the finished physical master, not only CAD screenshots.
Surface contamination hides detail before the silicone cures
Fine recesses are easy places for:
- dust;
- sanding residue;
- release-agent pooling;
- uncured SLA resin;
- fingerprints/oil;
- wax/polish;
- cleaning solvent residue.
A 0.2-0.5 mm recess can be visibly softened by contamination that would be irrelevant on a 100 mm flat surface.
Cleaning should preserve the texture rather than scrub it away.
If a sealer is used, verify that it does not bridge the smallest grooves.
The first silicone contact layer matters most
On a brush-on mold, the initial detail coat should reach the entire master surface before heavy backing layers are added.
Common failure signs:
- bubbles stuck inside deep grain;
- dry spots around undercuts;
- silicone bridging across narrow channels;
- uneven coating around vertical texture;
- trapped air at upward-facing ledges.
The objective is to wet the master without trapping air.
For difficult texture, the mold maker may:
- brush the first layer aggressively into the surface;
- use lower-viscosity compatible material;
- work in a controlled orientation;
- vacuum-degas the mixed silicone where appropriate;
- apply thin local layers before building bulk thickness.
The exact process should follow the RTV system in use.
Vacuum degassing does not remove every surface bubble automatically
Degassing reduces entrained air in the mixed silicone. It does not guarantee that air trapped against the master will escape after the silicone contacts a deep recess.
A bubble can still remain at:
- the bottom of a letter;
- hair groove;
- rock texture;
- undercut ledge;
- vertical wall.
Master orientation and application technique still matter.
For highly detailed brush molds, the operator often needs to mechanically work the first layer into the surface.
Silicone viscosity affects penetration, but thinner is not always better
Lower viscosity can help wet small features, but material selection must also consider:
- tear strength;
- Shore;
- cure system;
- working time;
- vertical sag for brush-on applications;
- food-contact requirements if applicable;
- compatibility with the master.
Do not choose a molding silicone solely because the TDS has a low viscosity number.
Casting material can be the real reason texture disappears
The mold can contain perfect detail while the casting fails to reproduce it.
Examples:
Plaster / gypsum
Air remains in deep texture; slurry may bridge narrow grooves.
Concrete / mineral mixes
Coarse aggregate cannot enter fine surface detail; trapped air leaves pinholes.
Epoxy / PU resin
High viscosity or short pot life can prevent fine filling.
Wax
Cooling and surface behavior can soften very shallow features.
Chocolate / gummy
Formula flow, release and surface finish can dominate the perceived texture.
To diagnose detail loss, compare:
master → empty silicone cavity → first casting
Do not skip the middle step.
Texture depth must survive demolding
A deep texture can become a field of micro-undercuts.
Hair, bark and stone texture may require the silicone to stretch repeatedly over thousands of tiny edges.
Review:
- texture direction relative to peel;
- feature depth;
- local wall thickness;
- Shore;
- casting stiffness;
- whether the mold needs a split/support shell.
A texture that copies beautifully once can still be a poor production design if every demold damages the same peaks.
Abrasive casting materials can wear texture over time
Plaster and concrete can abrade fine surface features, especially if:
- the mix contains coarse particles;
- operators scrape with hard tools;
- molds are aggressively brushed clean;
- demolding drags the casting across detail rather than peeling the silicone away.
Texture wear should be separated from silicone aging.
If fine features gradually soften after repeated production, inspect whether the physical silicone surface has been abraded.
How to inspect texture fidelity
Use consistent close-up photography.
A useful QC method:
- choose a defined texture area on the master;
- photograph it at fixed magnification/lighting;
- photograph the same region on the silicone cavity;
- photograph the first approved casting;
- store those images as the golden reference;
- compare later molds or production wear to the same region.
For dimensional micro-features, optical measurement or microscopy may be appropriate, but many decorative textures are best judged by an approved visual reference.
Example: leather-grain resin panel
A resin product needs realistic leather grain. The CAD contains the macro shape, but the texture comes from a physical master.
If the master is over-sprayed with primer, the grain rounds over. The silicone reproduces that rounded master perfectly, and the final resin still looks "too smooth."
The correct root-cause chain is:
finishing process → master texture loss → mold reproduces loss
Changing Shore A would not restore the missing grain.
Example: stone texture for concrete casting
A deep stone master is captured in RTV, but finished concrete shows many smooth white spots inside recesses.
Inspect the empty mold first. If the mold contains the texture, the issue is likely casting-air control, mix flow or vibration-not "silicone resolution."
This distinction prevents unnecessary mold remakes.
What buyers should send
For a fine-detail project, send:
- macro reference images;
- full-size overall images;
- master material/process;
- smallest feature that must remain visible;
- target casting material;
- desired matte/gloss finish;
- whether the texture is cosmetic or dimensionally functional;
- expected production cycles/abrasion environment.