
Why Are There Bubbles on the Surface of an RTV Silicone Mold?
A bubble inside the bulk silicone and a bubble on the cavity surface are different failures.
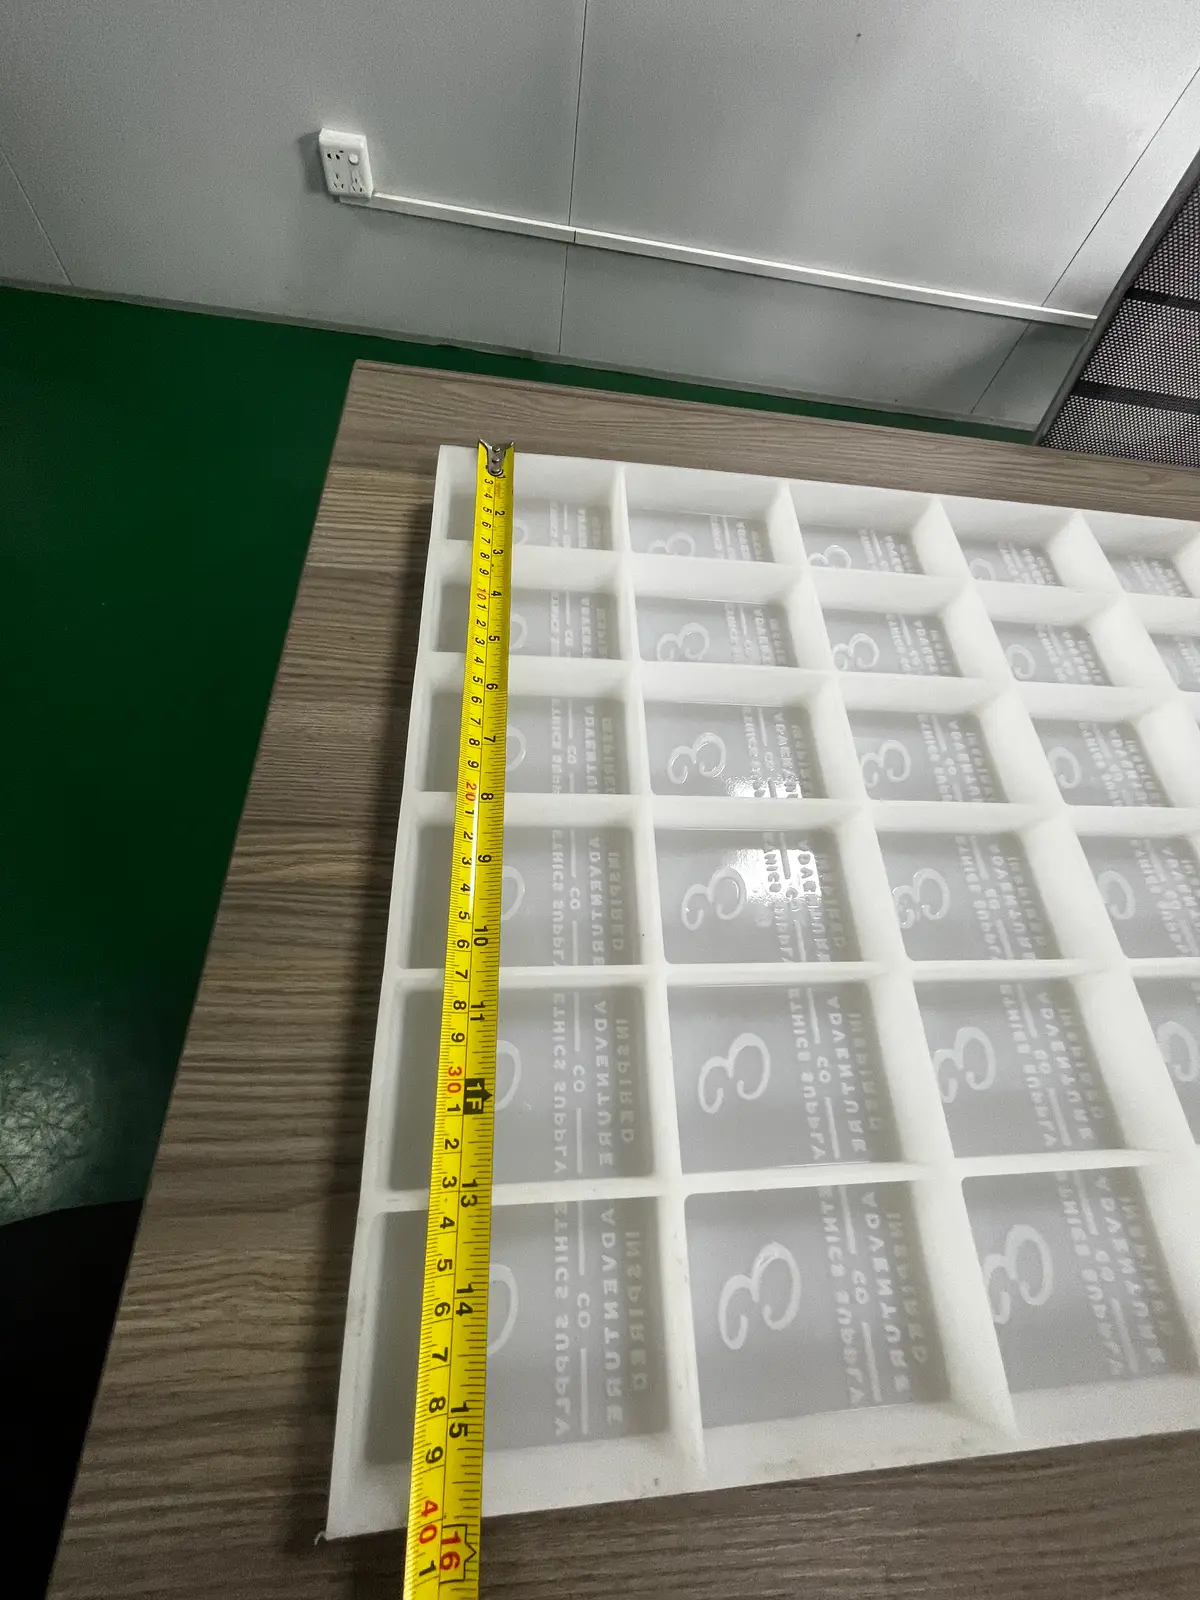
Vacuum degassing can reduce air mixed into silicone.
It does not automatically remove air trapped:
- against a master recess;
- under a texture ledge;
- inside a deep letter;
- on an upward-facing surface.
Start by mapping where the bubbles appear.
Bubble location is the first diagnostic clue
Random bubbles throughout the cut silicone
Likely related to:
- mixing air;
- inadequate vacuum;
- re-aeration during pouring;
- material behavior.
Bubbles only on the detail surface
Likely related to:
- master wetting;
- trapped interface air;
- first-coat method;
- orientation.
Bubbles clustered at one high point
Likely geometric air trap.
Foam or many tiny bubbles near contamination
Investigate:
- moisture;
- reaction;
- incompatible surface material.
Mixing technique determines how much air enters
Aggressive high-speed mixing can fold large amounts of air into RTV.
Better process depends on material, but generally control:
- mix ratio;
- mixing completeness;
- scraping cup walls;
- mixing speed;
- pot life.
Do not under-mix merely to avoid bubbles.
Uniform chemistry comes first.
Vacuum degassing has limits
The vacuum process should be based on:
- material viscosity;
- batch size;
- pot life;
- chamber capacity;
- foam expansion behavior.
A common mistake is filling the vacuum container too high.
Silicone can expand dramatically under vacuum and overflow.
Another mistake is degassing correctly, then pouring in a way that traps interface air.
Vacuum is one process step, not the entire bubble solution.
First detail coat is critical on textured masters
For fine texture:
- brush/wet the surface;
- work silicone into recesses;
- inspect under ledges;
- avoid bridging deep letters.
Once bulk silicone covers a trapped bubble, vacuum may not recover it at the interface.
For brush-on molds, the first layer often determines final detail quality.
Master orientation can remove bubble traps
Rotate/position the master so air can rise away from:
- ears;
- letters;
- hair grooves;
- deep cavities.
A small orientation change can be more effective than longer vacuum time.
Pour stream should minimize re-entrainment
A controlled thin stream into one low point can help the silicone rise across the master and push air ahead.
Dumping silicone directly over fine texture can trap pockets.
The exact approach depends on geometry and viscosity.
Pressure after pouring can help some systems, but it is not magic
Pressure can compress bubbles.
But it requires:
- pressure-rated equipment;
- master/mold box capable of pressure;
- repeatable process.
It still does not fix poor wetting or contamination.
For most custom RTV molds, correct mixing, degassing and first-coat technique should be optimized first.
Decide whether a bubble is cosmetic or functional
A bubble in a thick external backing region may be acceptable.
A bubble on:
- food-contact cavity;
- logo;
- sealing surface;
- thin tear-prone wall;
- precision feature
may require rework/remake.
Acceptance depends on location and function.
Rewrite the existing RUUIPON vacuum-degassing page
Current URL:
/blog/vacuum-degassing-silicone-molds/
Keep the URL if it has index/history value, but rewrite it.
The current page is heavily templated and contains unsupported fixed Shore, spacing and shrink claims unrelated to bubble diagnosis.
The new page should focus on:
symptom → bubble location → process evidence → test → correction.