
Silicone Mold Master and Prototype: Lock the Pattern First
The pattern is how you lock shape after CAD; the resin production mother is the hard production tool we pour batch RTV against; the prototype is how you prove that chain in the real dump. If you're in product development, pick the pattern route that matches what has to be true on the cavity - CNC when grams or logo depth are commercial, finished SLA when the shape is sculptural, a physical sample when texture must copy - then name whether that part is also the production mother or we flip a temporary silicone tool and cast a resin production mother. Write a pass/fail before anyone mixes A/B. A perfect platinum pour cannot correct a wrong pattern. A hero photo of a grey print is not a prototype.
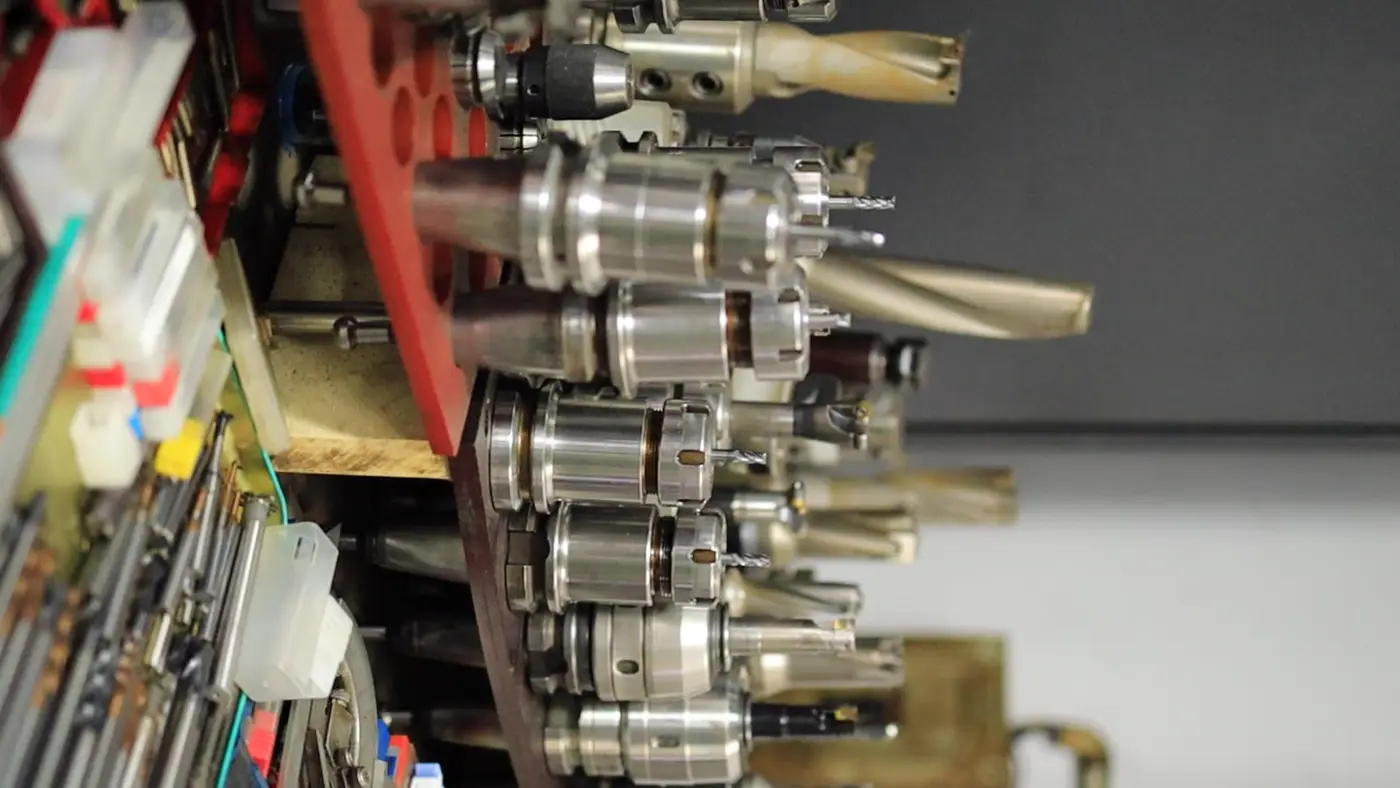
RUUIPON cuts or finishes the pattern in Bao'an, often flips a temporary silicone tool, casts a resin production mother, then pours the first RTV cavity. Custom/simple 3D modeling is USD $50 when that scope applies. Prototype is 3-7 business days after CAD/master lock. Production MOQ is 20 pieces per design after a written note. Capability pages: master model options and prototype validation. Process gates: CNC master to pour and test-cast QC. Catalog: process catalog. Steel/LSR *parts* → ask us.
Pick the master by what it has to prove
| Route | Use it when | Typical shop catch |
|---|---|---|
| CNC | Fit, grams, logo depth, depositor nest | Toolmarks print unless you specify face finish |
| SLA / DLP | Organic sculpture, hairline texture | Layer lines, platinum inhibition, wrong STL units |
| Physical sample | Real leather, stone, worn-in surface | Copying stretch or chips as the new nominal |
| Sculpture + scan | Art doesn't exist in CAD yet | Scale drift between clay, scan, and the box |
A mixed job is common: CNC the cavity map, print the mascot insert, register both in the box. That assembly is still a pattern until DFM names pour-on-CNC or we flip and cast a resin production mother.
Common mix-up: treating the STL as the master, the photo as the prototype
An STL is a candidate, not a pattern. Units (mm vs inch), wall, and whether the mesh is the *positive product* or the *negative cavity* still have to be named. Photos without a millimetre scale are a review - from photos. Approving a grey print on a dirty bench, then multiplying to MOQ 20, copies the guess into every tool.
Sequence we actually run
- Confirm units, datum, cosmetic faces. Custom 3D at USD $50 when that scope applies.
- DFM: peel, split, plug, core, jacket - DFM review.
- Finish the pattern face. The later RTV cavity copies all of it. Barrier-coat printed patterns going into platinum.
- Measure the pattern *before* A/B.
- When we batch: flip a temporary silicone tool from that pattern, then cast a resin production mother. CNC or a finished sample stays the production mother only when DFM names pour-on-CNC or pour-on-sample.
- Mix, vacuum, pour batch RTV against the resin production mother (or the named CNC/sample path), cure, pull.
- Dump the intended material at real temperature. Write the pass/fail.
- Only then multiply to MOQ 20.
Typical shop values
Reference values only. Confirm material-specific limits against the supplier’s technical data and agree project acceptance criteria before production.
| Item | Typical shop value |
|---|---|
| Printed layer height on a food/logo master | 25-50 μm, then sand or coat the cosmetic face |
| Mix / shrink | Platinum 1:1 or 10:1; ~0.1-0.3% linear |
| Cavity Shore | 10A-20A against the master; jacket if loaded |
| Custom/simple 3D | USD $50 when that scope applies |
| Prototype | 3-7 business days after CAD/master lock |
| Production MOQ | 20 pieces per design |
Failure: master approved from a phone photo; production doesn't match
Symptom: Layer lines on every chocolate; logo depth washed; prototype "looked good" but grams drifted; inhibition sticky on the first platinum pour.
Confirm: Was the master measured before A/B? Was the dump the real chemistry? Is there a written prototype note, or a thumbs-up sticker?
Fix: Recut or refinish the master. Recast the skin. Don't inspect harder on a pattern that was never locked.
Worked example: 12-up 18 mm bear, pectin, depositor nest
Brand art needed a production-ready cavity map - custom 3D USD $50 - then CNC/print as the pattern, often a temporary silicone flip and a resin production mother, 10A-20A platinum with jacket, pectin dump on the actual depositor. Center sat on 4.0 g; unsupported edge sag of about 1 mm would have pushed the outer row 3-6% heavy, so the jacket stayed in the production price. Water photos the week before would have missed that. Prototype 3-7 days after CAD lock, then MOQ 20.
What to ask when you're buying master + prototype
- Which pattern route (print / CNC / sample), is a flip used, and who keeps the resin production mother after the tooling charge?
- What one sentence is the prototype pass/fail, in which material?
- Is the prototype the same structure as production (split, keys, jacket, cavity count)?
- Printed master: wash, UV post-cure, barrier coat - written, or assumed?
- If it fails, is the next recast a new NRE?
When this page is the wrong route
If you only need a catalog ice cube that already matches, you don't need a custom master. If you need thousands of molded silicone *parts*, this master is the wrong object (an HTV product, not an RTV pour cavity). A tiny shallow stamp can skip a CNC nest. Geometry can override quantity: a one-off resin hook still needs a true master and a split decision.
Related: CAD from sample, capabilities, contact.
RFQ: master and prototype pack
Copy this.
Pattern type: CNC / print / sample / sculpture (or shop to mark) Flip used? yes / no / undecided STEP or sample shipping? Units mm? Cosmetic finish: matte / gloss / copy sample texture Prototype pass/fail sentence (real dump, not water): Dump material + peak °C: Split / jacket: yes/no/shop to mark 3D modeling? ($50 when that scope applies) Who keeps the resin production mother / CAD: RTV batch qty (MOQ 20):
Send photos, a sketch, a sample, or CAD and the pass/fail sentence. contact - [email protected] · +86 135 3006 2969.
We would not recommend freezing production from a grey print
We would not recommend mixing A/B before the master is measured. We would not recommend a water-fill sign-off on pectin, epoxy, or concrete. We would not skip the barrier coat on a sticky SLA going into platinum. We would not treat the first WhatsApp image as CAD lock.
RUUIPON Mold Structure Decision:
- DFM -> Master route
- Master route - grams/logo/nest -> CNC pattern
- Master route - sculpture/texture -> Finished print pattern
- Master route - real surface -> Physical sample
- CNC pattern -> CAD/pattern lock
- Finished print pattern -> CAD/pattern lock
- Physical sample -> CAD/pattern lock
- CAD/pattern lock -> Flip + resin mother?
- Flip + resin mother? - yes -> Resin production mother
- Flip + resin mother? - pour-on-CNC/sample named -> Resin production mother
- Resin production mother -> 3-7 day RTV prototype in real dump
- 3-7 day RTV prototype in real dump -> MOQ 20 after written pass/fail
FAQ
Is the master included in the mold price? Ask. NRE/pattern/resin production mother/prototype should be a line. Recasts against a living resin production mother are cheaper than a new pattern. Tooling charge ≠ unrestricted ownership.
Can you prototype without a production-ready STEP? Yes, via sample or measured photos. Custom/simple 3D is USD $50 when that scope applies. Fit-sensitive grams still want a physical sample or STEP before lock.
How long is the prototype? 3-7 business days after CAD/master lock, not after the first photo.
Do printed masters inhibit platinum? Uncured resin can. Wash, full UV post-cure, barrier coat. A scrap patch is cheaper than a ruined pour.
What's MOQ after a good prototype? 20 pieces per design. Don't skip the written note.