
Brush-Coat Thickness on RTV in Millimetres | RUUIPON
A detail coat is a millimetre band, not a painted look. Starved serifs, puddled wells, second-coat windows. Typical shop. MOQ 20, $50 CAD when it applies.
 Kyler Yang · Founder8 min read
A brush-on detail coat is specified in millimetres, not in "until it looks covered." The first stipple has to wet every serif and pore without leaving a puddle in the well that prints as a sink. Typical shop skins land in a thin first coat - often on the order of about 1 mm on flats, thinner on raised type, built with a second and third pass until the face map is in a 3-6 mm band before the jacket. Too thin and a resin dump blows a hole at the logo. Too thick in one pass and you trap air under a skin, or you sag a 10A glove off the master. Thickness is a map, not a single number: face, undercut, lip, jacket land.
On this site the path is photos, sketch, or CAD, then a 3D-printed pattern, often a temporary silicone flip, a resin production mother, then batch RTV. The mother is not the pattern. Free DFM. HTV/HCR compression mold tooling is also quoted on RUUIPON.
Does not apply when the tool is an open-back food tray poured in a flask (no detail coat, or only a light face wet), when you are "brushing" caulk from a tube, or when you meant Shore A as a substitute for wall thickness. LSR in a heated cavity is not a stipple. We would not paint RTV onto a steel tool as a repair.
The first coat is wetting, the stack is the wall
Coat 1 (detail). Thixotropic A/B, stippled, not brushed out like house paint. The job is to push rubber into texture and to pop the bubbles you just made with the brush. Vacuum the cup first; the brush is not a degasser. If you skip this coat and pour a thick second, the second skins over the air in the serif.
Coats 2-n (build). Each pass waits for the previous to gel enough to hold, not to fully cure. A full cure between coats can make a bond line that peels under a PU dump. A wet-on-wet dump of 8 mm in one go sags off a vertical master.
Jacket land. The last rubber that will see plaster bandage or FRV needs a little extra so the jacket does not print through. That is still millimetres, not "a fat bead."
The photo that would prove a thickness spec: pin gauge or cut witness on a hidden land, millimetre scale, coat-count written on tape. A glossy glove on a mannequin does not prove 4 mm.
- Stipple coat 1 into texture -> Serifs wet, no puddles?
- Serifs wet, no puddles? - starved -> More stipple, not a heavier pour
- Serifs wet, no puddles? - puddled -> Lift the puddle, re-stipple
- Serifs wet, no puddles? - ok -> Gel window
- Gel window -> Build coats to the wall map
- Build coats to the wall map -> Jacket on the land - not on a 1 mm skin
- More stipple, not a heavier pour -> Serifs wet, no puddles?
- Lift the puddle, re-stipple -> Serifs wet, no puddles?
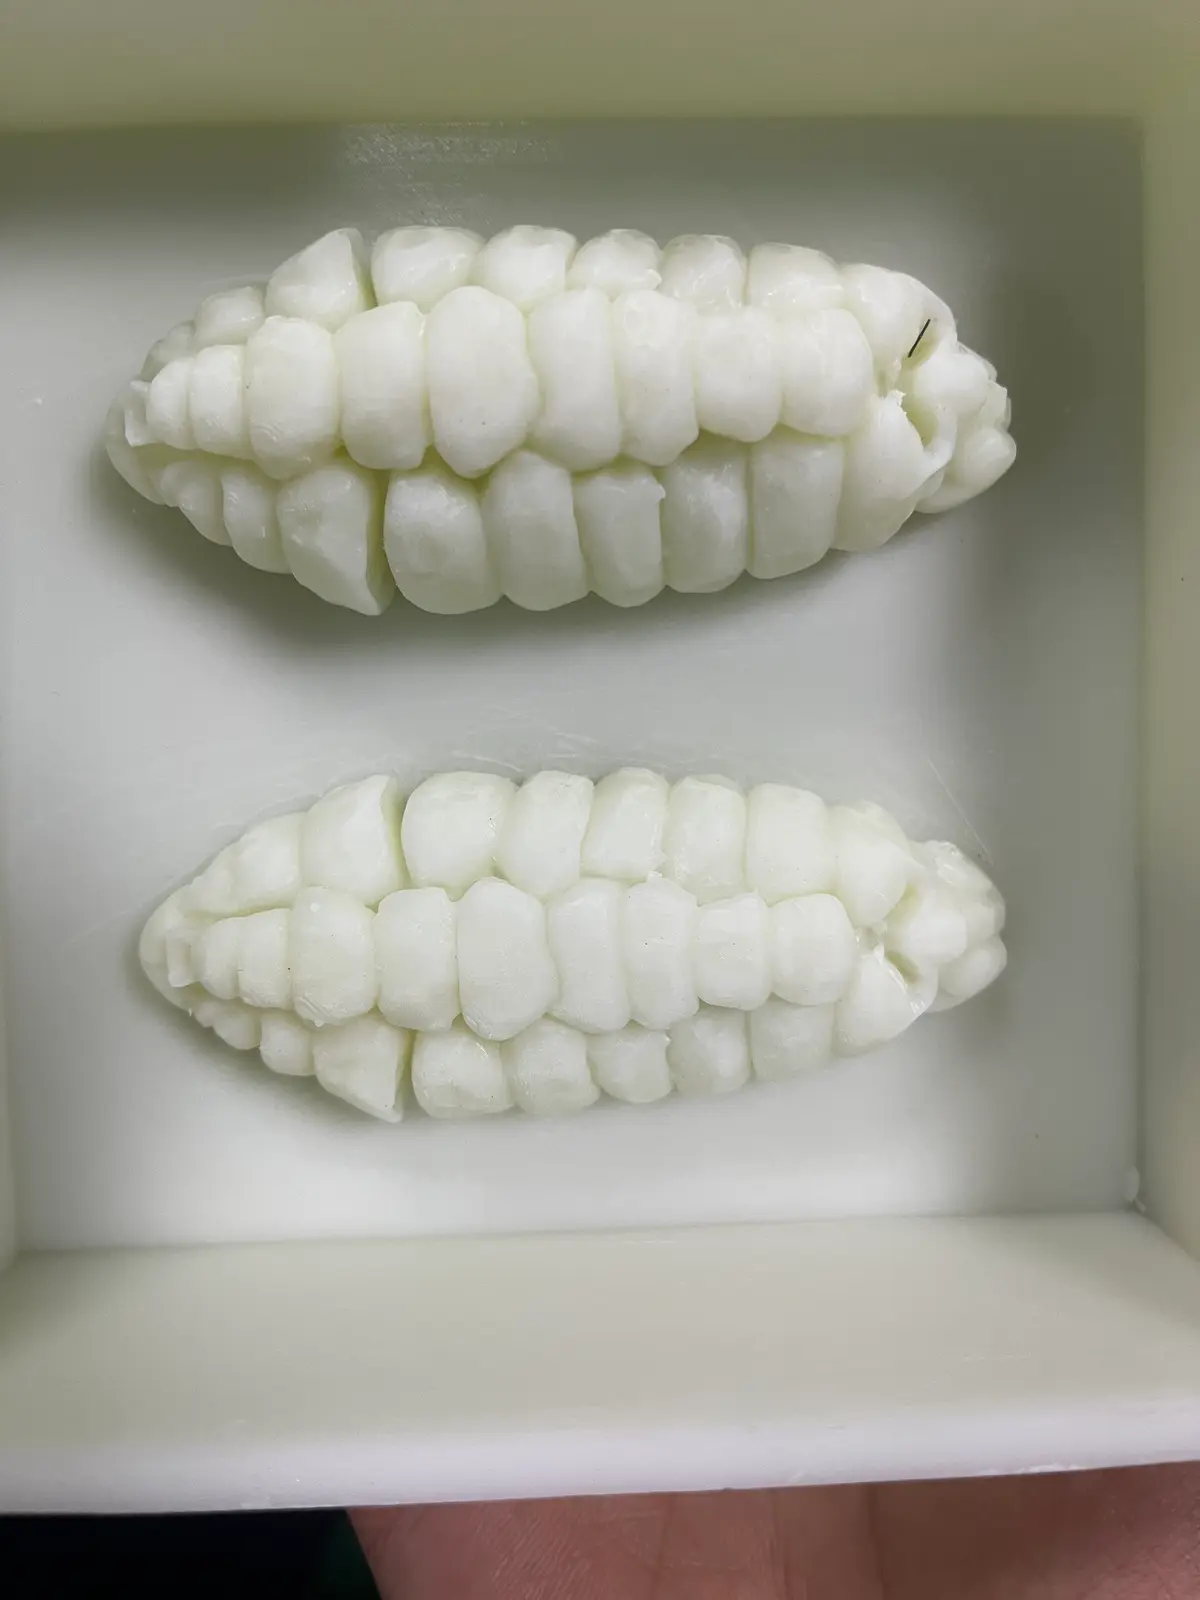
Starved serifs vs puddled wells
Starved type. You can see the master color through the first coat. The dump will print a hole or a weak blister. Fix with more stipple of the same coat, not with a glob of unthixo'd pour rubber.
Puddled wells. Gravity pulled the first coat into the cavity floor. That puddle cures as a sink in the dump. Lift it with the brush, or rotate the master so the well is not a bucket.
Undercut thinning. Rubber pulls away from a hook as it gels. The map has to call extra passes there or you will tear the glove on demold. Even 4 mm on the cheek and 0.5 mm in the nostril is a fail.
Shore does not replace millimetres. A 30A skin at 1 mm still blows; a 10A skin at 6 mm still needs a jacket for wet kilograms. Loaded sag of about 0.5-1.5 mm is a jacket conversation, not a "thicker brush" conversation on a river-table scale.
ISO 3302-1 M2 is a rubber class for the dump article if you care. It is not a brush-coat tolerance. CAD lock on a production glove includes a thickness map, or we will not pretend the $50 3D covered a sculpture.
Second-coat window
If coat 1 has skinned to a dry, shiny film, coat 2 may not chemically bite. Some grades want a tack window; some want a primer between fully cured coats - follow the grade, do not invent a shop "always 45 minutes." If you missed the window on a production SKU, we would rather recast the glove than ship a delaminating face.
Thixo agent is a different page. Here the thickness still has to land even after the paste stands up on a vertical.
Typical shop values
Reference values only. Confirm material-specific limits against the supplier’s technical data and agree project acceptance criteria before production.
| Item | Typical shop value |
|---|---|
| Mix / shrink | 1:1 or 10:1 by weight; platinum about 0.1-0.3% |
| First detail coat | often about 1 mm on flats; wet the serif |
| Built glove wall | commonly a 3-6 mm face map before jacket |
| Cavity Shore | 10A-20A skins; jackets take the hydrostatic load |
| Loaded sag without jacket | about 0.5-1.5 mm |
| Prototype | 3-7 business days after CAD lock |
| Production MOQ | 20 pieces per design |
| Simple 3D | USD $50 when that CAD scope applies |
| Drawing class | ISO 3302-1 M2 as a common default |
Stay on this page / skip this page
Stay when you need millimetres on a brush-on detail coat - first stipple vs the 3-6 mm face map before a jacket / mother-mold support shell.
Skip if the job is a pour-on block with no brush coat. Skip finished parts - a different RFQ - ask us. Skip raising Shore to hide a starved serif.
We will not quote one 8 mm pass on a vertical pattern "to save time." We will not judge thickness by opacity under shop lights. We will not jacket a 1 mm detail coat and call it a production skin. We will not use caulk-tube silicone as a production detail coat. We will not raise Shore A to hide a starved serif.
Related: pour-on vs brush-on, contact.
Worked example: 0.4 mm logo, one heavy coat
Resin badge, 60 mm, 0.4 mm raised wordmark. Buyer brushed one heavy unthixo'd coat; the wordmark puddled, the edges starved. Dump printed a blur. We stippled a degassed thixo 1:1 first coat until the serifs went matte-wet, built to about a 4 mm map, plaster jacket. Prototype 3-7 business days after CAD lock of the thickness map. $50 CAD applied because the wordmark depth was not in the STL. Production MOQ 20 of that design.
Mix-up: brush-on is cheaper because it uses less rubber
Grams can drop versus a block. Labor and jacket cost often rise. A starved 2 mm glove that tears at dump 12 is not cheaper. The other mix-up is calling a pour-on tray a "brush mold" because you wetted the face with a stick. Related: glove vs block, mother-mold shell, contact.
What to ask when you're buying a brush-on
- Thickness map: face / undercut / lip / jacket land, in millimetres?
- Vertical master or flask-able? If flask-able, why brush at all?
- Dump: PU, epoxy, plaster, food? Food usually wants a poured tray, not a glove.
- Coat-count and gel window for the grade, or recast if you missed it?
- After lock, 3-7 business days, then MOQ 20 / design?
RFQ copy-pack - detail coat mm
Paste into [email protected]:
Object: RTV glove or brush-on, not an LSR/HCR part Master: L×W×H mm, vertical? undercuts? Dump chemistry and peak °C Thickness map you want (face / undercut / lip) Jacket: plaster / FRP / printed shell / you decide File: STEP / STL / photos with a millimetre scale CAD: mold-ready STEP OR USD $50 3D if that scope applies Prototype 3-7 business days after CAD lock, then MOQ 20 per design Who keeps the master
Send a millimetre map, not "brush it until covered." We stipple to a wall - not a blank quote request. Phone +86 135 3006 2969. Xinhe Blvd, Shajing, Bao'an. Shop since 2018.
FAQ
How thick should a brush-on silicone mold be? A built face map commonly lands around 3-6 mm before the jacket, with a thin first coat that actually wets type. One number for the whole glove is how undercuts starve.
Can I do it in one thick coat? On a vertical master the coat sags and traps air. Stipple thin, wait the gel window, build. We will not spec one 8 mm pass for production.
Why did my logo look sunk after the first coat? The well puddled. Lift the puddle and re-stipple. Gravity is part of the thickness map.
Does a thicker brush coat replace a mother mold? No. Hydrostatic load on a wet dump still wants a jacket. Extra grams of 10A-20A rubber sag about 0.5-1.5 mm without support.
Is thickness in the $50 CAD? USD $50 when we must model. A thickness map on a sculpture is shop work after lock, not a free sketch. Clock is 3-7 business days after CAD lock; MOQ 20 per design.
Custom silicone development · DFM & prototype support
CAD, drawing, photos or sample details