
How to Make Silicone Molds: A Practical Guide for Producers
Silicone mold making is the process of creating a flexible negative impression (the mold) from a positive master model. This mold is then used to cast prod
 Kyler Yang · Founder5 min read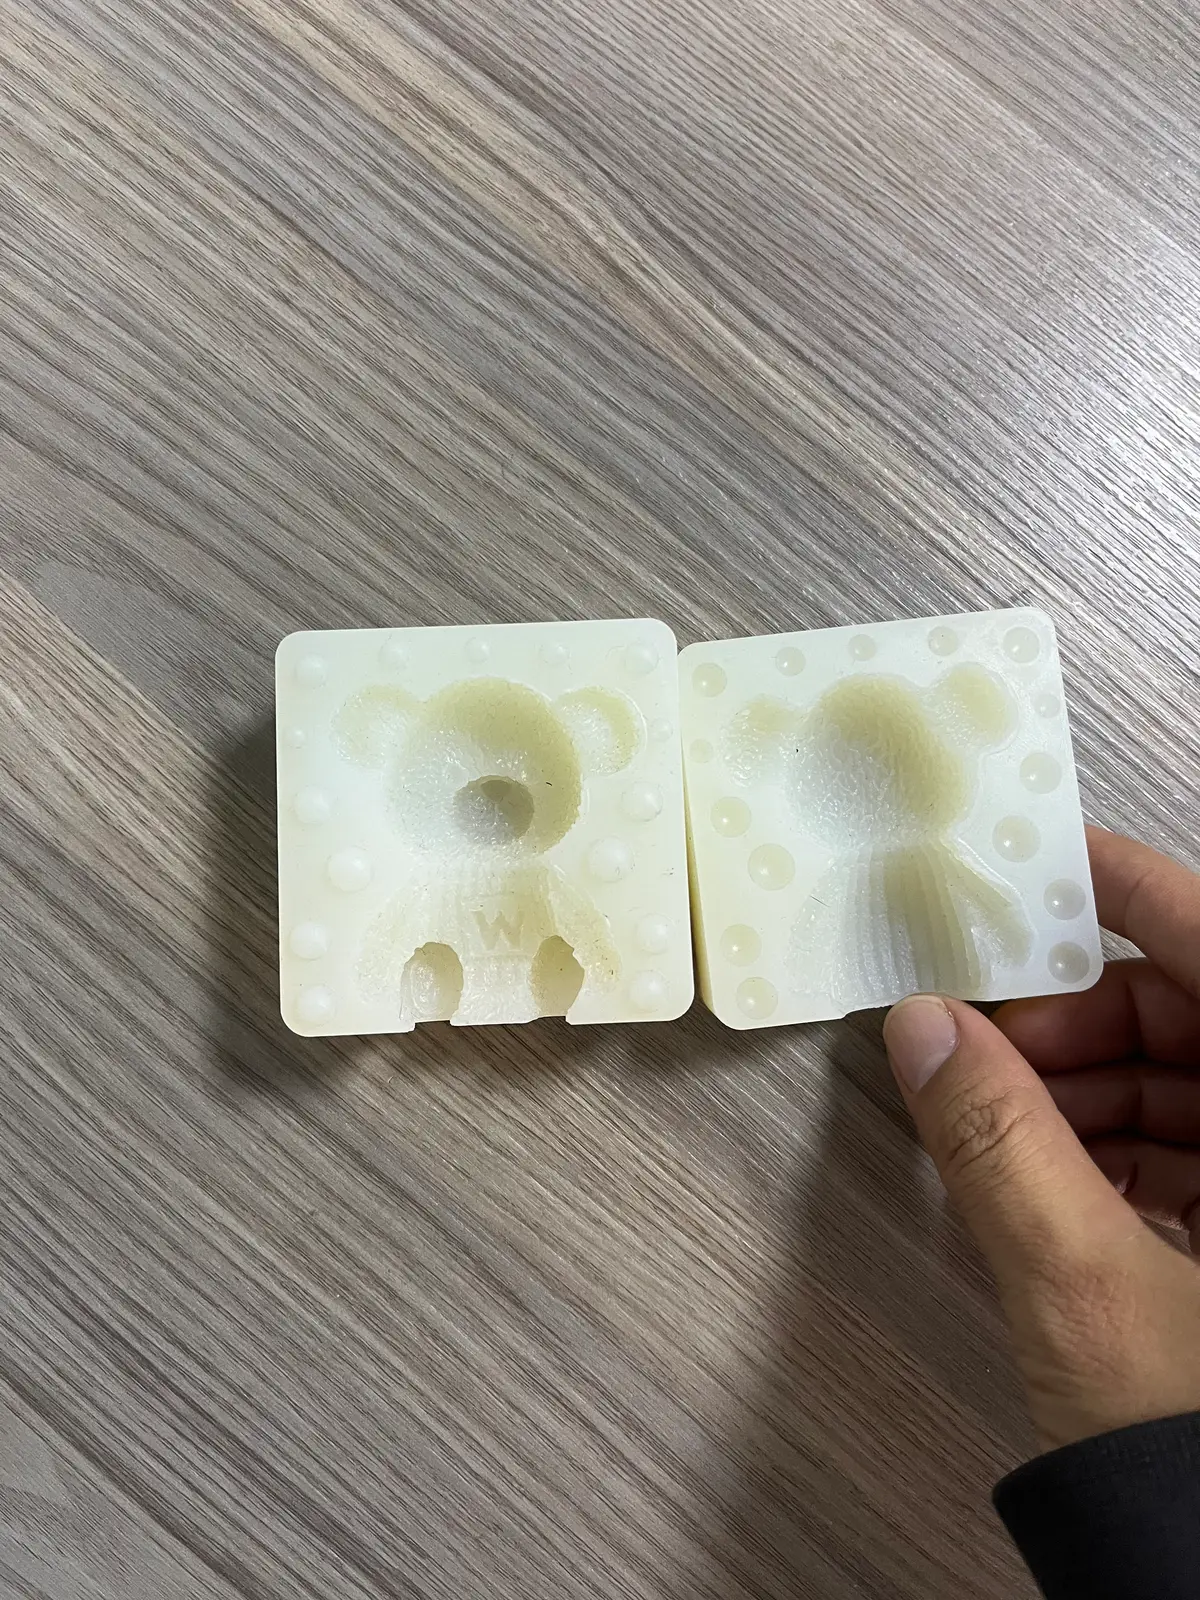
Understanding Silicone Mold Making
Silicone mold making is the process of creating a flexible negative impression (the mold) from a positive master model. This mold is then used to cast products in materials like gummy mass, chocolate, resin, or concrete.
While most commercial producers purchase pre-manufactured molds, understanding the mold-making process helps you evaluate suppliers, specify requirements accurately, and troubleshoot production issues.
The Mold-Making Process Overview
Step 1: Create the Master Model
The master model is the positive version of your product — the object that the mold will be cast against.
Master Creation Methods:
| Method | Best For | Layer Height | Surface Quality |
|---|---|---|---|
| SLA 3D Printing | Most applications | 25-50μm | Excellent |
| CNC Machining | Large formats, metals | N/A | Excellent |
| Sculpting | Organic designs | N/A | Variable |
| Photopolymer printing | Small detailed parts | 25-50μm | Very good |
Master Quality Requirements:
- Surface free of support marks or imperfections
- Detailed surface for optimal mold reproduction
- Properly post-cured (for 3D printed masters)
- Clean and free of contaminants
Step 2: Prepare the Mold Box
The mold box (also called a containment box) holds the silicone during curing.
Requirements:
- Non-porous material (coated MDF, plastic, or metal)
- Flat bottom surface
- Adequate height to accommodate silicone depth (typically 2-3× master height)
- Size appropriate for the master model
Step 3: Apply Mold Release
Mold release prevents the silicone from adhering to the master and the mold box.
Application:
- Lightly mist the inside of the mold box with release agent
- Tile masters inside the box with detailed side up
- Lightly spray masters with release agent
- Allow 10 minutes to dry thoroughly
Common Release Agents:
- Aerosol mold release sprays
- Liquid release agents (applied with brush or spray)
- Paste release agents (for complex geometries)
Step 4: Prepare the Silicone
Mixing:
- Follow manufacturer's instructions for Part A and Part B ratios
- Mix thoroughly for the recommended time (typically 3-5 minutes)
- Scrape sides and bottom of mixing container
Degassing:
- Use a vacuum chamber to remove air bubbles
- Alternatively, use a vibrating table to release trapped air
- Degassing time: 5-15 minutes depending on silicone viscosity
Step 5: Pour the Silicone
Pouring technique:
- Pour in a narrow stream to minimize air entrapment
- Start from the lowest part of the box
- Gradually build up over the master
- Ensure at least 1cm of silicone coverage above the master
- Avoid pouring directly onto detailed surfaces
One-Piece Mold Pouring:
- Pour silicone over masters until fully submerged
- Tap box gently to release air bubbles
- Allow to cure (typically 4-8 hours)
Two-Piece Mold Pouring:
- First half: Pour silicone over half-exposed masters in clay bed
- Demold: Remove first half with masters and clay
- Clean: Remove clay, clean first half and masters
- Second half: Replace first half and masters in box, apply release, pour second half
- Cure: Allow both halves to cure fully
Step 6: Demold and Finish
Demolding:
- Once cured, remove the mold from the box
- Peel away from the master carefully
- For two-piece molds, separate the halves gently
- Clean any release agent residue from cavity surfaces
Finishing:
- Inspect cavities for defects
- Trim any flash or excess silicone
- Clean cavities with appropriate solvent if needed
Step 7: Cast Your Product
Preparation:
- Lightly spray cavity surfaces with mold release
- Allow to dry (10 minutes)
- Prepare your casting material (gummy mass, chocolate, resin, etc.)
Casting:
- Pour or inject material into cavities
- Tap gently to release air bubbles
- Allow to set according to material specifications
- Demold the finished product
One-Piece vs. Two-Piece Mold Making
One-Piece Mold Making
Process: 1. Create master model 2. Prepare mold box 3. Apply release agent 4. Mix and degass silicone 5. Pour silicone over master 6. Allow to cure 7. Demold from box 8. Remove master from silicone
Best for: Flat-bottomed products, simple geometries, high-cavity-count trays
Two-Piece Mold Making
Process: 1. Create master model 2. Prepare mold box with clay bed 3. Position master half-exposed in clay 4. Pour first half of silicone 5. Cure first half 6. Remove from box, clean clay 7. Replace first half and master in box 8. Apply release to first half and master 9. Pour second half of silicone 10. Cure second half 11. Demold both halves 12. Separate and inspect
Best for: Complex 3D shapes, undercuts, full-surface detail
Common Mold-Making Mistakes
Mistake 1: Insufficient Degassing
Air bubbles in silicone create defects in the mold cavity. Always degass silicone before pouring.
Mistake 2: Inadequate Release Agent
Missing or insufficient release agent causes the silicone to bond to the master or box, making demolding difficult or impossible.
Mistake 3: Pouring Too Quickly
Fast pouring traps air and creates turbulence. Pour in a thin, controlled stream.
Mistake 4: Insufficient Cure Time
Removing the mold before full cure results in soft spots and dimensional instability. Follow manufacturer's cure time recommendations.
Mistake 5: Wrong Master Material
Using a master material that reacts with silicone (some resins contain sulfur inhibitors) prevents proper curing. Use sulfur-free resins or apply a sealant barrier.
Mold-Making Best Practices
| Practice | Reason |
|---|---|
| Work in a clean, dust-free environment | Dust particles create surface defects |
| Maintain consistent temperature (18-25°C) | Temperature affects cure time and viscosity |
| Use calibrated mixing containers | Accurate Part A/Part B ratios ensure proper cure |
| Document your process | Records help replicate successful molds |
| Test small batches first | Validate materials and techniques before full production |
FAQ
Q: How long does silicone take to cure? A: Typical cure time is 4-8 hours at room temperature (20-25°C). Thicker sections may require longer cure times.
Q: Can I make silicone molds at home? A: Yes, basic silicone mold making is possible at home with the right materials and equipment. However, commercial production requires industrial-grade materials and precision manufacturing.
Q: What's the difference between RTV and platinum silicone? A: RTV (Room Temperature Vulcanizing) silicone includes both platinum-cured and tin-cured varieties. Platinum-cured silicone is preferred for food applications due to its superior properties and inherent FDA compliance.
Q: How do I fix a defective mold? A: Minor defects can sometimes be repaired with liquid silicone. Major defects may require remaking the mold from a corrected master.
*Published: 2026-08-12 | Category: Technical Guide | Read Time: 10 minutes*
Custom silicone development · DFM & prototype support
CAD, drawing, photos or sample details