
Plaster Figurine RTV: Protect the Casting First
A plaster figurine mold should protect the casting, not only the silicone. Thin arms, fingers, leaves, and hanger islands break on demold even when the rubber survives. If you are locking a plaster RTV, this page is that layout: flat-back vs full-3D, peel load, air at upward detail, and how tight you pack a multi-cavity sheet. The release path is often gentler than an equivalent resin tool.
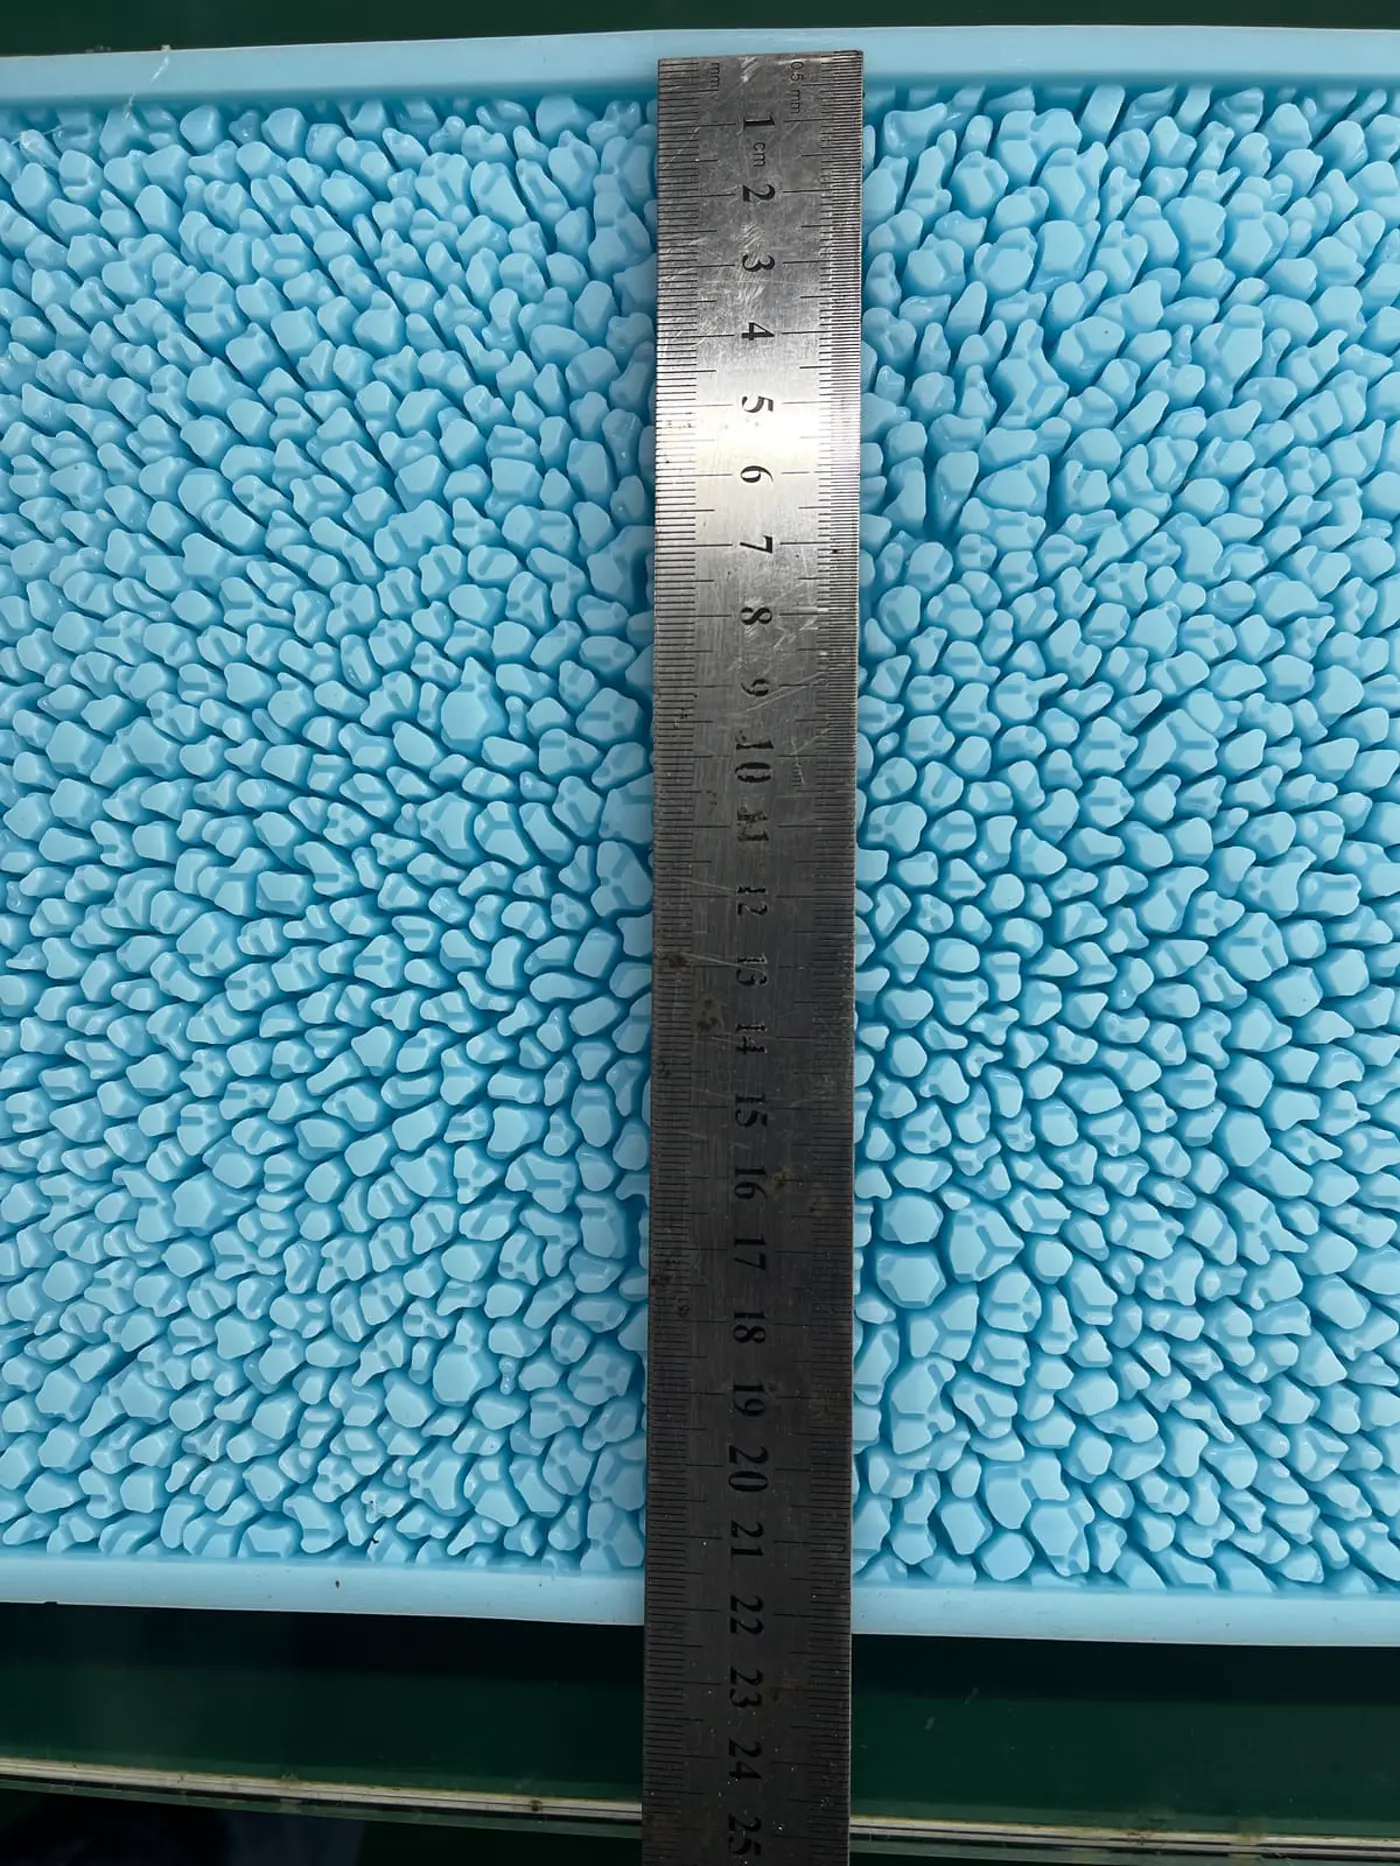
RUUIPON pours platinum RTV tools in Bao'an, Shenzhen (Licheng Technology Industry Park, Xinhe Blvd, Shajing; USCC 91440300MA5FAXCN9W) since 2018. Simple 3D is USD 50 when that CAD scope applies. Prototype is 3-7 business days after CAD lock. Production is MOQ 20 pieces per design. Plaster tools are not food-contact trays.
Where this page sits
The commercial category is plaster and gypsum molds. Full-3D structure lives on full-3D figurine mold design. The sculpture hub is sculptures and figurines. This page covers plaster-brittle layout only.
Flat-back vs full-3D
Flat-back relief is usually open-back. Full-3D needs the same structure decision as any closed figure, plus a gentler peel so the gypsum does not snap. Brittle features should not carry the demold load. Master DFM can thicken a hidden root or add a fillet the buyer will not see on the face.
Typical shop values
Reference values only. Confirm material-specific limits against the supplier’s technical data and agree project acceptance criteria before production.
| Item | Typical shop value |
|---|---|
| Protect first | Casting features, then rubber life |
| Parting | Keep the seam off the display face |
| Air | Upward-facing detail on the pour orientation |
| Multi-cavity | Access and fragility beat max pocket count |
| Proof | Actual plaster, not a resin stand-in |
| 3D / CAD | USD 50 when that modeling scope applies |
| Prototype after CAD lock | 3-7 business days |
| Production after written pass | MOQ 20 pieces per design |
| Contact | [email protected] · +86 135 3006 2969 |
Air and count
Bubbles often sit on upward detail. Orientation and a face coat beat random vent cuts on the hero surface. Packing cavities tight makes operators peel one figure by twisting the next. Leave access.
Worked example: hanger island
Typical job, not a named PO. 24-up angels snapped at the hanger on demold 2. We opened spacing, filleted the island root, and prototype-poured plaster. The resin sample had survived.
When this page does not apply
This layout page does not replace the plaster hub. It does not apply to resin figurines. HCR compression products and molds stay on a RUUIPON HTV RFQ. High-volume LSR cold-runner part tools are a different RFQ - ask us.
RFQs we will not accept as-is
Approving a resin sample as plaster proof. Max cavity count with no peel access. Sending an HCR / LSR part through this RTV plaster page.
Matched next step
Send photos or STL, plaster type, hanger/fragile features, and target count. We will say open-back vs split and how tight the sheet can be. "Plaster figurine mold, 50 cavities" is not enough.
Send plaster features and count · Plaster hub · Full-3D structure · Sculpture hub
[email protected] · +86 135 3006 2969 · Licheng Technology Industry Park, Xinhe Blvd, Shajing, Bao'an, Shenzhen. USCC 91440300MA5FAXCN9W.
FAQ
Is this the plaster product hub? No.
Can we prove the mold with resin? Not if the production dump is plaster.
Is this the full-3D page? No. That is dump-agnostic structure.
Do you hang FDA papers on plaster tools? No.
What is MOQ after a pass? 20 pieces per design.