
Full-3D Figurine RTV: Demold Sequence First
A full-3D figurine mold should be designed from the demolding sequence backward. Face, fingers, ears, arms, folds, and base all compete for a hidden seam, a safe peel, and vents at the last-to-fill details. If you are locking structure on a closed figurine, this page is that sequence. Trying to make every figure "one piece, no seam" usually moves the problem into stretch or a cut.
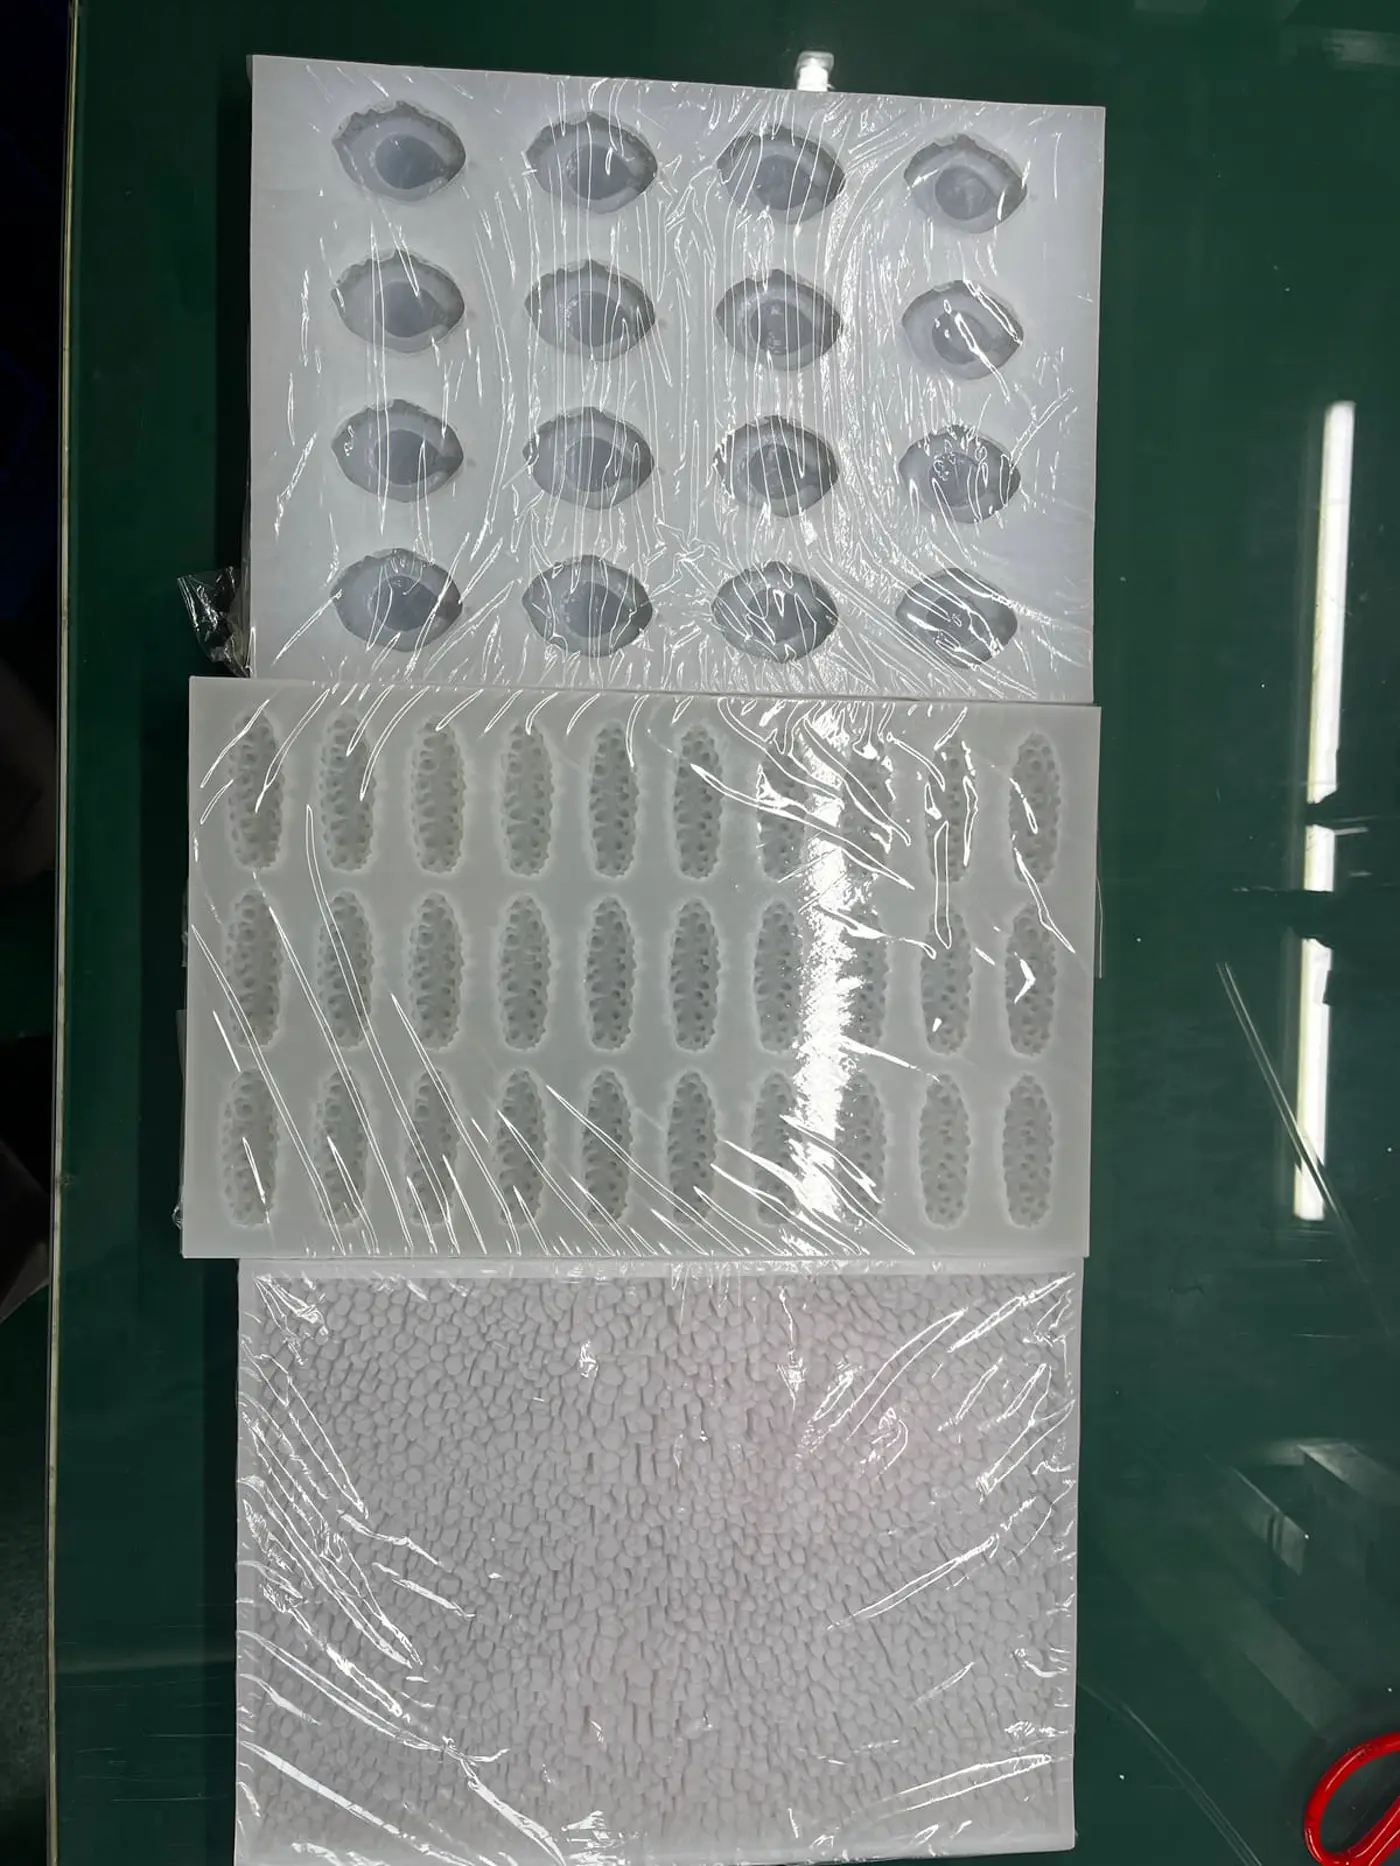
RUUIPON pours platinum RTV tools in Bao'an, Shenzhen (Licheng Technology Industry Park, Xinhe Blvd, Shajing; USCC 91440300MA5FAXCN9W) since 2018. Simple 3D is USD 50 when that CAD scope applies. Prototype is 3-7 business days after CAD lock. Production is MOQ 20 pieces per design. Figurine tools are not food-contact trays.
Where this page sits
The commercial category is sculptures and figurines. Resin-fragile DFM lives on resin figurine DFM. Plaster-brittle layout lives on plaster figurine design. This page covers full-3D structure.
Walk the peel
Flat back? Open-back. Deep undercuts the silicone cannot peel? Keyed split, plug, or core. A controlled slit can beat a second full half if only one limb locks. Large wet castings still want a mother mold behind a 10A-20A skin.
Typical shop values
Reference values only. Confirm material-specific limits against the supplier’s technical data and agree project acceptance criteria before production.
| Item | Typical shop value |
|---|---|
| Open-back | One display face, peel from the back |
| Keyed split | Closed envelope, flash on a planned land |
| Local plug | One locked limb without a second global seam |
| Jacket | When the skin would balloon under fill |
| Approve | A full casting, not an empty cavity photo |
| 3D / CAD | USD 50 when that modeling scope applies |
| Prototype after CAD lock | 3-7 business days |
| Production after written pass | MOQ 20 pieces per design |
| Contact | [email protected] · +86 135 3006 2969 |
Seam, gate, vent
Protect the display face. Put the seam in hair, clothing, or a base edge. Gate and vents follow the production pose, not a pretty render. Extremities trap air. Wall thickness around fingers and ears is a tear and a fill problem.
Worked example: raised arm
Typical job, not a named PO. 150 mm figure, raised arm locked the glove. We refused a one-piece skin, added a plug behind the elbow, and jacketed 10A-20A. The STL still looked "simple."
When this page does not apply
This structure page does not replace the sculpture hub. It does not apply to flat-back magnets. HCR compression products and molds stay on a RUUIPON HTV RFQ. High-volume LSR cold-runner part tools are a different RFQ - ask us.
RFQs we will not accept as-is
One-piece, no-seam on a two-sided figure with locked arms. Approving an empty mold photo. Sending an HCR / LSR part through this RTV figurine page.
Matched next step
Send STL or photos, dump material, and where a seam is forbidden. We will name open-back, split, plug, or jacket. "Figurine mold, no seam" is not enough.
Send pose, dump, and seam keep-out · Sculpture hub · Resin figurine DFM · Plaster figurine
[email protected] · +86 135 3006 2969 · Licheng Technology Industry Park, Xinhe Blvd, Shajing, Bao'an, Shenzhen. USCC 91440300MA5FAXCN9W.
FAQ
Is this the sculpture product hub? No. Capability lives there. Structure lives here.
Can every figurine be one piece? No.
Is this the resin-fragile page? No. That is dump-specific DFM.
Do you hang FDA papers on figurine tools? No.
What is MOQ after a pass? 20 pieces per design.